
Es gibt viele Möglichkeiten, den Schweif Ihres Pferdes oder Ponys zu ordnen und zu formen, je nach der gewünschten Optik und Verarbeitung sowie der Klasse oder dem Wettbewerb, an dem Sie teilnehmen.
Wenn Sie neu im Showgeschäft sind, schauen Sie sich zunächst einige Kurse an und sehen Sie sich die Teilnahmebestimmungen an, bevor Sie mit Ihrem Makeover beginnen, um sicherzustellen, dass Sie den richtigen Look erhalten.
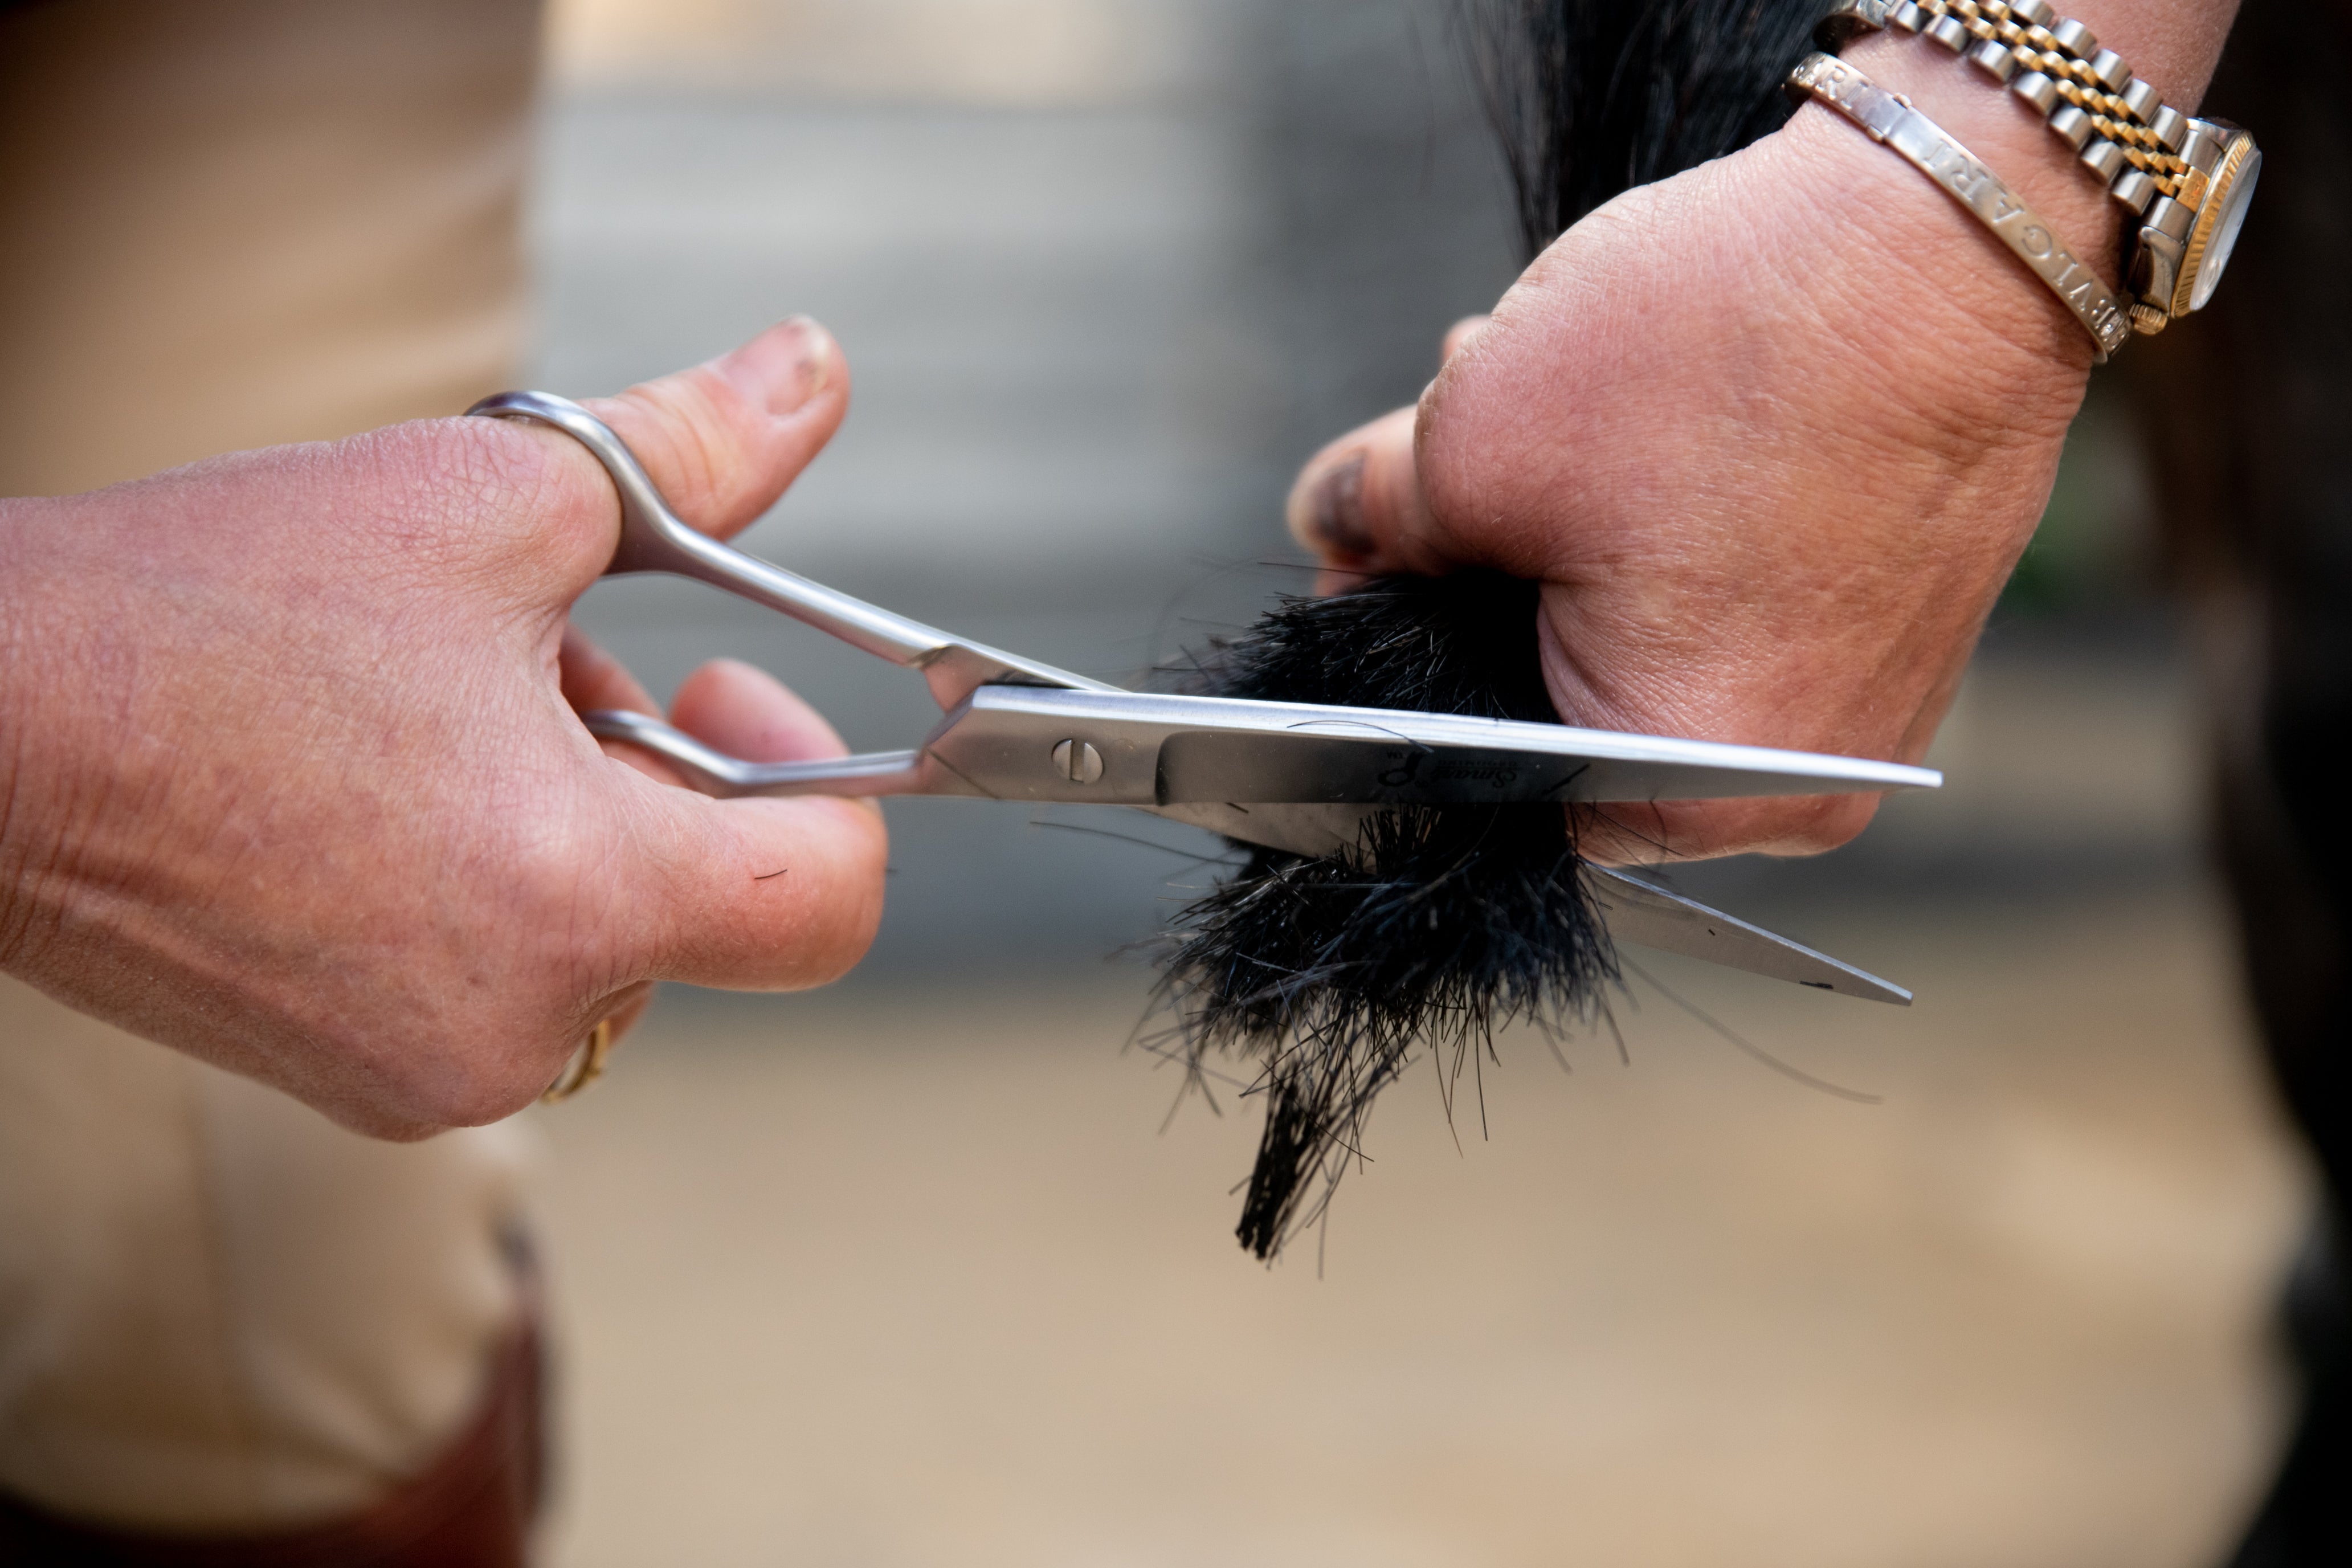
Traditionell wurde ein gezogener Schweif von Hand gezogen, was dem Pferd oft Unbehagen bereitete und Schmerzen und Reizungen verursachte. Heutzutage gibt es viele andere, humanere Methoden, einen Schweif zu ordnen, um ihm das Aussehen eines gezogenen Schweifs zu verleihen.
Unser Verfahren „So erhalten Sie den gezogenen Schweifabschluss“ mit dem Smart Tails Tidying Rake hilft Ihnen, in wenigen Minuten sicher einen ordentlichen, aufgeräumten Schweif zu erzielen.
- Stellen Sie sich ein paar Fragen.
- Ist der Schwanz von Natur aus dick und grob oder fein und weich?
- An welcher Art von Wettbewerb oder Vorführklasse werden Sie teilnehmen?
- Möchten Sie ein sauberes, aber natürliches Finish oder ein sehr definiertes und geformtes Finish?
Es wird Ihnen wirklich helfen, wenn Sie sich ein Bild von dem Ergebnis machen, das Sie erreichen möchten.
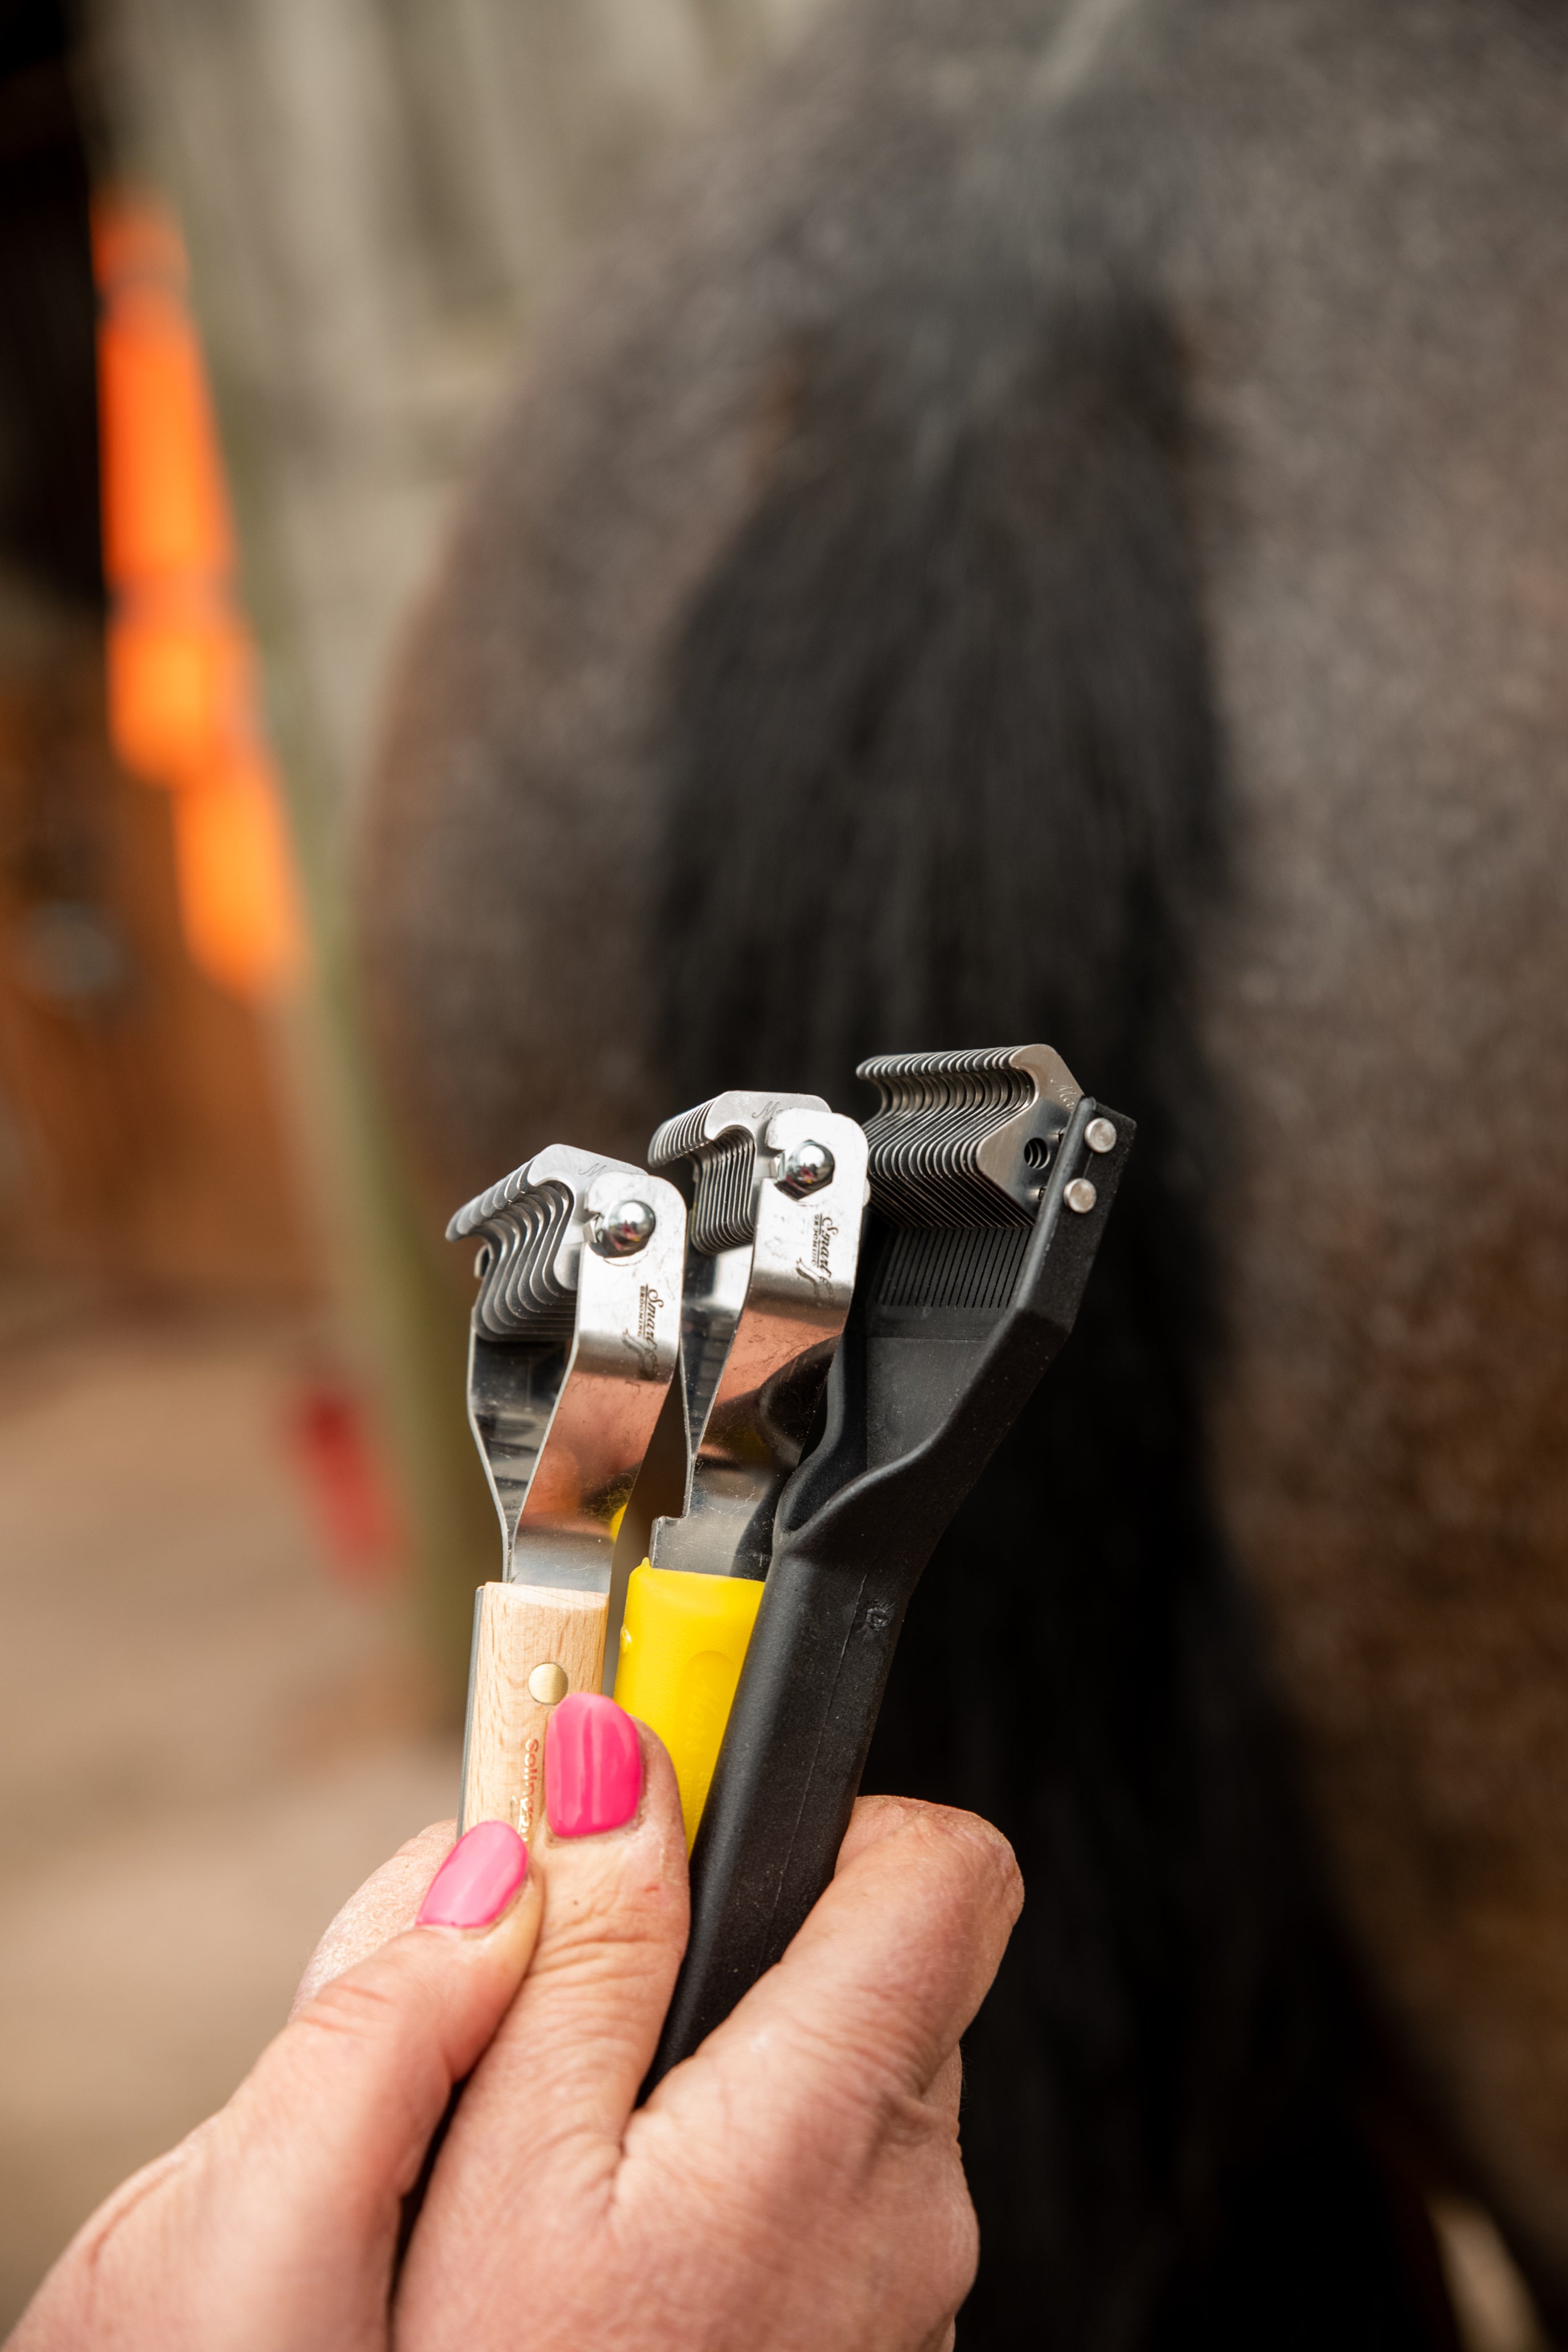
- Wählen Sie einen Smart Tails Schweifpflegerechen mit der Klingenqualität, die am besten zu dem Schweif passt, den Sie pflegen möchten.
Grob – Damit geht man durch dickes, grobes Haar und hinterlässt ein ordentliches, aber natürliches Finish, das perfekt für Natives ist, oder um die Dicke oben und an den Seiten während der Sommermonate zu reduzieren, wenn die Hitze in diesem Bereich zu Reizungen führen kann. Es wird auch beim ersten Aufräumen verwendet, um die Masse zu entfernen, bevor man zu einer feineren Körnung übergeht.
Mittel – dies ist die beliebteste Körnung. Sie eignet sich gut für die meisten Schweifhaare und hinterlässt ein natürliches Finish. Sie kann aber auch verwendet werden, um mehr Definition zu verleihen, wenn sie in konzentrierteren Bereichen auf beiden Seiten des Schweifs verwendet wird.
Fein – dies ist perfekt für die Verwendung bei Schwänzen, die bereits gepflegt wurden und bei denen nur jede Woche die Seiten gekämmt werden müssen, um sie bei Shows oder Wettbewerben sauber zu halten. Geeignet für feineres Haar, da die Zähne recht eng beieinander liegen.
Superfein – hat einen schmalen Kopf und sehr eng beieinander liegende Klingen. Entwickelt für kleinere Showponytypen sowie für ein super dichtes Finish oben und an den Seiten.
Jetzt ist es Zeit, den Schwanz zu zähmen!
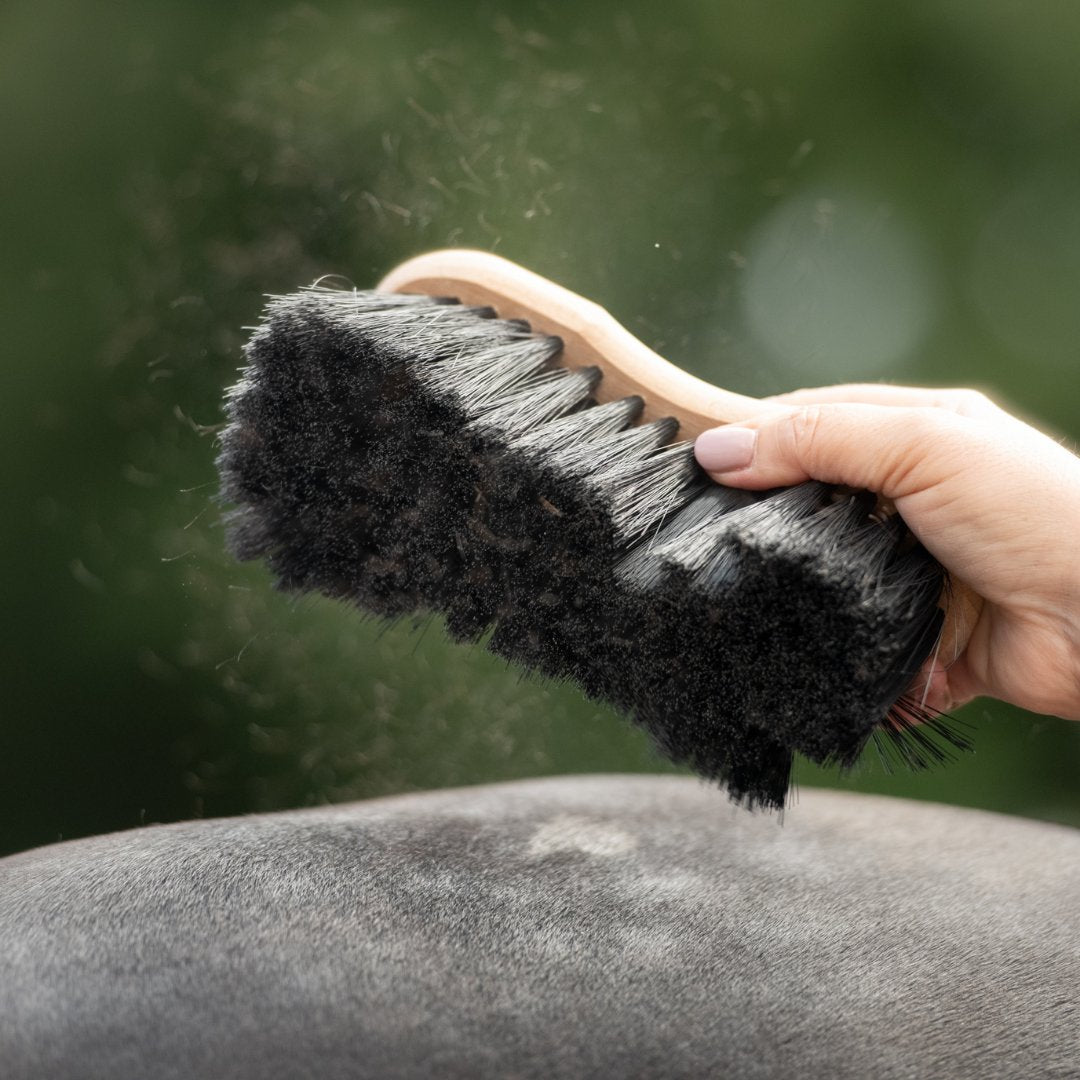
Stellen Sie sicher, dass der Schweif sauber und sorgfältig durchgebürstet ist und keine Verfilzungen aufweist.
Nachdem Sie den Smart Tail Tidying Rake mit der geeigneten Klingenqualität ausgewählt haben, stellen Sie sich seitlich neben das Pferd oder Pony und beginnen Sie, den Schweif vorsichtig in einer Abwärtsbewegung zu harken, beginnend oben auf einer der Seiten. Die Haare werden leicht herauskommen und das Pferd wird keine Anzeichen von Unwohlsein zeigen, im Gegenteil, es hebt oft seinen Schweif, um Ihnen zu helfen!
Je nach gewünschtem Ergebnis wiederholen Sie den Vorgang nach unten. In Großbritannien machen wir bis etwa zur Hälfte der Länge des Pferdeschwanzes weiter und verjüngen uns, um die Form der Hinterhand zu betonen. Weniger ist mehr, denn wenn man anfängt, kann man sich leicht hinreißen lassen. Überprüfen Sie Ihre Arbeit und wiederholen Sie den Vorgang auf der anderen Seite, sodass die Länge an den Seiten dieselbe ist wie auf der anderen Seite. Befeuchten Sie das Haar, legen Sie einen Schweifverband an und lassen Sie ihn eine halbe Stunde einwirken. Entfernen Sie ihn dann und überprüfen Sie Ihre Arbeit.
Für mehr Definition und ein glatteres Finish wechseln Sie dann zu einer feineren Körnung und fahren Sie auf die gleiche Weise fort.
Für ein natürliches Finish genügen oft ein paar Striche an den Seiten auf jeder Seite. Es hängt wirklich von Ihren eigenen Vorlieben ab und davon, ob es um einen ordentlichen Wettkampf-/Show-Look oder einfach um ein insgesamt gepflegtes Erscheinungsbild geht.
Um den Schweif während der Wettkampfsaison in Form zu halten, verwenden Sie alle ein bis zwei Wochen oder kurz vor einem Event den Smart Tails Tidying Rake . Legen Sie im Rahmen Ihrer Pflegeroutine einen Schweifverband auf den angefeuchteten Schweif, damit das Haar richtig liegt.
Ersatz-/austauschbare Smart Tail-Ersatzklingen
Die Professional Smart Tails oder die Yellow Handle -Option nehmen Ersatzklingen auf. Wenn die Klinge stumpf ist, kann sie ausgetauscht werden, ohne dass ein neuer Griff gekauft werden muss. Wenn zwei oder drei Klingentypen erforderlich sind, können diese ebenfalls angebracht werden. Die Klinge lässt sich leicht entfernen, indem die Schrauben an beiden Enden des Klingenkopfes gelöst werden. Beide Typen haben eine Metallgabel, in der die Klinge sitzt. Diese kann leicht herausgezogen oder hineingedrückt werden, sodass alle vier Klingenqualitäten auf einen dieser Griffe passen. Sie lässt sich als eine Einheit abnehmen und die Ersatzklinge kann dann angebracht werden.
Hinterlassen Sie einen Kommentar