
Es gibt so viele Möglichkeiten, eine Mähne und einen Schweif zu flechten, aber um die besten Ergebnisse zu erzielen, ist Übung und nochmals Übung der einzige Weg zu einem wirklich sauberen, gleichmäßigen Ergebnis. Produkte, die speziell zum Flechten und Flechten entwickelt wurden, helfen dabei, den gewünschten Look zu erzielen, aber es kommt trotzdem auf Vorbereitung und Übung an.
Herkömmliche „Golfball“-Zöpfe werden hergestellt, indem die Mähne gleichmäßig in der Länge geteilt wird, jeder Abschnitt nach unten geflochten und aufgerollt und entweder mit Bändern befestigt oder mit Faden eingenäht wird. Dickere Mähne bedeutet entweder größere Zöpfe oder mehr Zöpfe, um kleinere Zöpfe zu erhalten. Wenn Ihr Pferd eine dünne Mähne hat, müssen Sie mehr Mähne für größere, aber weniger Zöpfe verwenden oder weniger Mähne für viele kleine Zöpfe.
Schauen Sie sich Ihr Pferd genau an und entscheiden Sie, was zu Ihnen passt und für welche Klassen oder Wettbewerbe Sie antreten. In Großbritannien ist der „Look“ im Showring anders als in anderen Ländern. Informieren Sie sich also im Voraus, um sicherzustellen, dass Sie den richtigen „Look“ für die Veranstaltung bekommen, an der Sie teilnehmen.
Für perfekte Zöpfe benötigen Sie:
Vorgewaschene Mähne und Schweif
Mähnenkamm zum Teilen der Mähne
Perfect Plaits Halt- und Glanzspray
Wählen Sie entweder Bänder oder Fäden und die Farbe, die mit dem Haar harmoniert, das Sie flechten möchten.
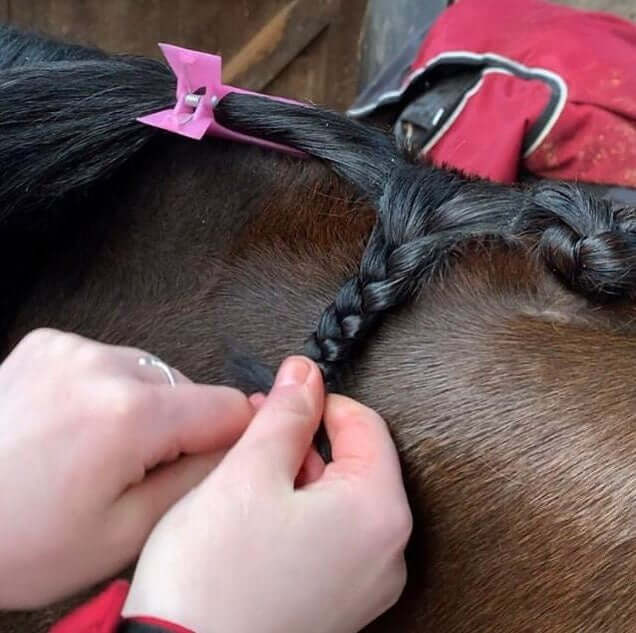
Schritt 1. Teilen Sie die Mähne mit dem Mähnenkamm. Dies geschieht, indem Sie den Kamm durch die Mähne ziehen, um einen Haarscheitel zu bilden. Wenn Sie dies richtig gemacht haben, sehen Sie zwischen jedem Bündel einen schönen geraden Scheitel. Jedes Bündel sollte gleichmäßig dick sein, damit die Zöpfe alle gleich groß sind.
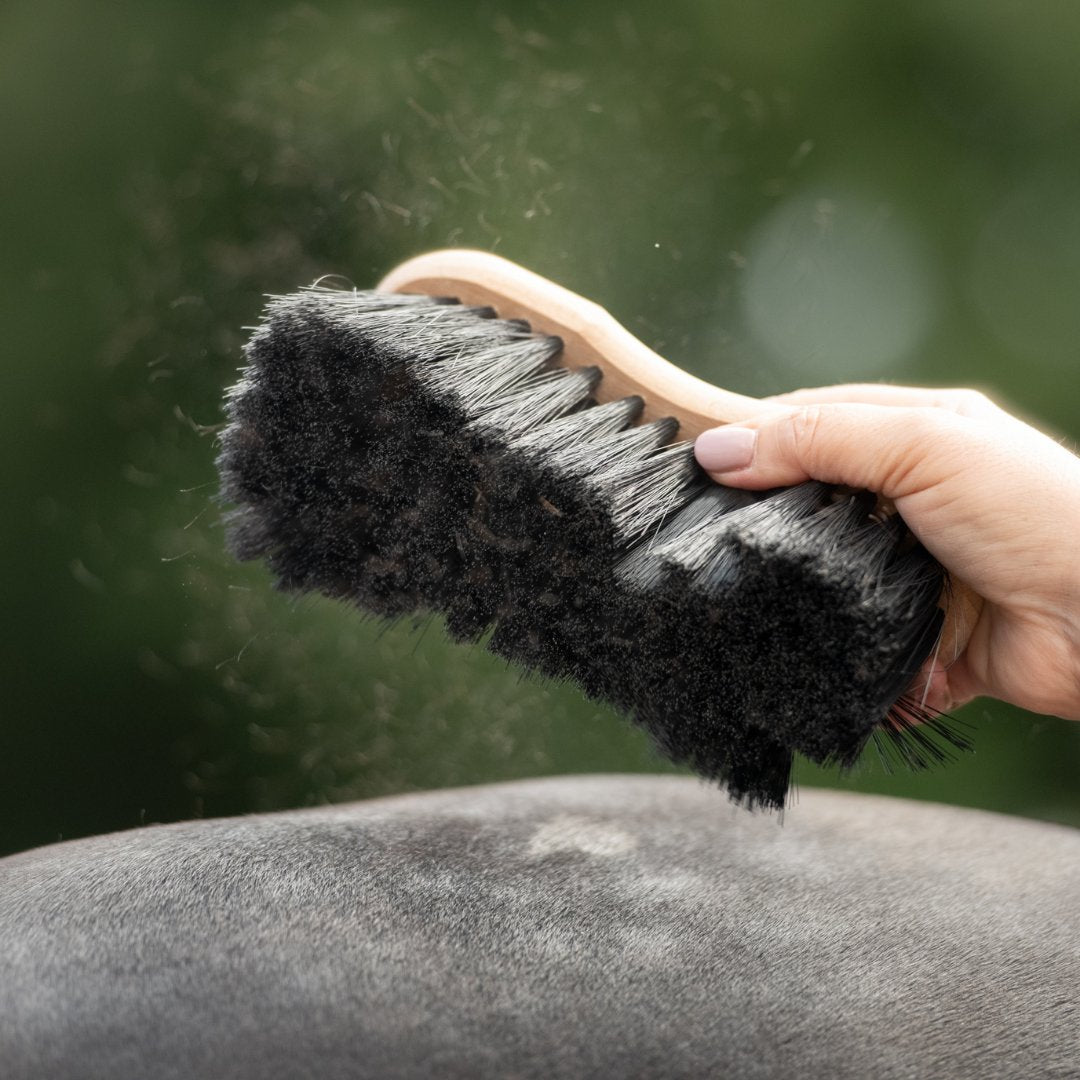
Schritt 2. Beginnen Sie mit dem Flechten der geteilten Haarbüschel am Genick und arbeiten Sie sich nach unten vor. Tragen Sie vor dem Flechten das Flechtwachs auf der Oberseite der Mähne auf, damit die Haare glatter werden. Drücken Sie dann eine kleine Menge Flechtgel auf Ihre Finger, arbeiten Sie es in die Mähne ein und flechten Sie es nach unten.
Schritt 3. (Bänder). Wenn Sie Bänder verwenden, flechten Sie jeden Zopf/jede Litze nach unten und sichern Sie ihn am Ende mit einem Band.
Schritt 3. (Faden) Wenn Sie Faden verwenden, können Sie es auch auf diese Weise tun und dann den Faden an der Unterseite des Zopfes befestigen oder einen Zopf nach dem anderen flechten und das Ende mit Faden befestigen.
Schritt 4. (Bänder) Wenn Sie mit den Bändern am unteren Ende des Zopfes angekommen sind, können Sie ihn aufrollen und dann oben herum mit einem zweiten Band befestigen.
Schritt 4. (Faden) Stechen Sie mit dem Faden die Nadel von der Unterseite des Zopfes in die Unterseite der Mähne und ziehen Sie sie durch die Mitte des Zopfes. Nähen Sie dann vorsichtig mit kleinen Stichen vor und zurück, sodass sie nicht sichtbar sind. Beenden Sie den letzten Stich, sodass der Faden durch den Zopf kommt, und schneiden Sie den Faden dicht unter dem Zopf ab, sodass keine losen Enden sichtbar sind.
Schritt 5. Wiederholen Sie den Vorgang, bis die gesamte Mähne fertig ist. Sobald alle Zöpfe aufgerollt und gesichert sind, sprühen Sie die gesamte Reihe der Zöpfe mit Perfect Plaits ein. Dadurch bleiben sie den ganzen Tag lang an ihrem Platz und halten den Glanz.
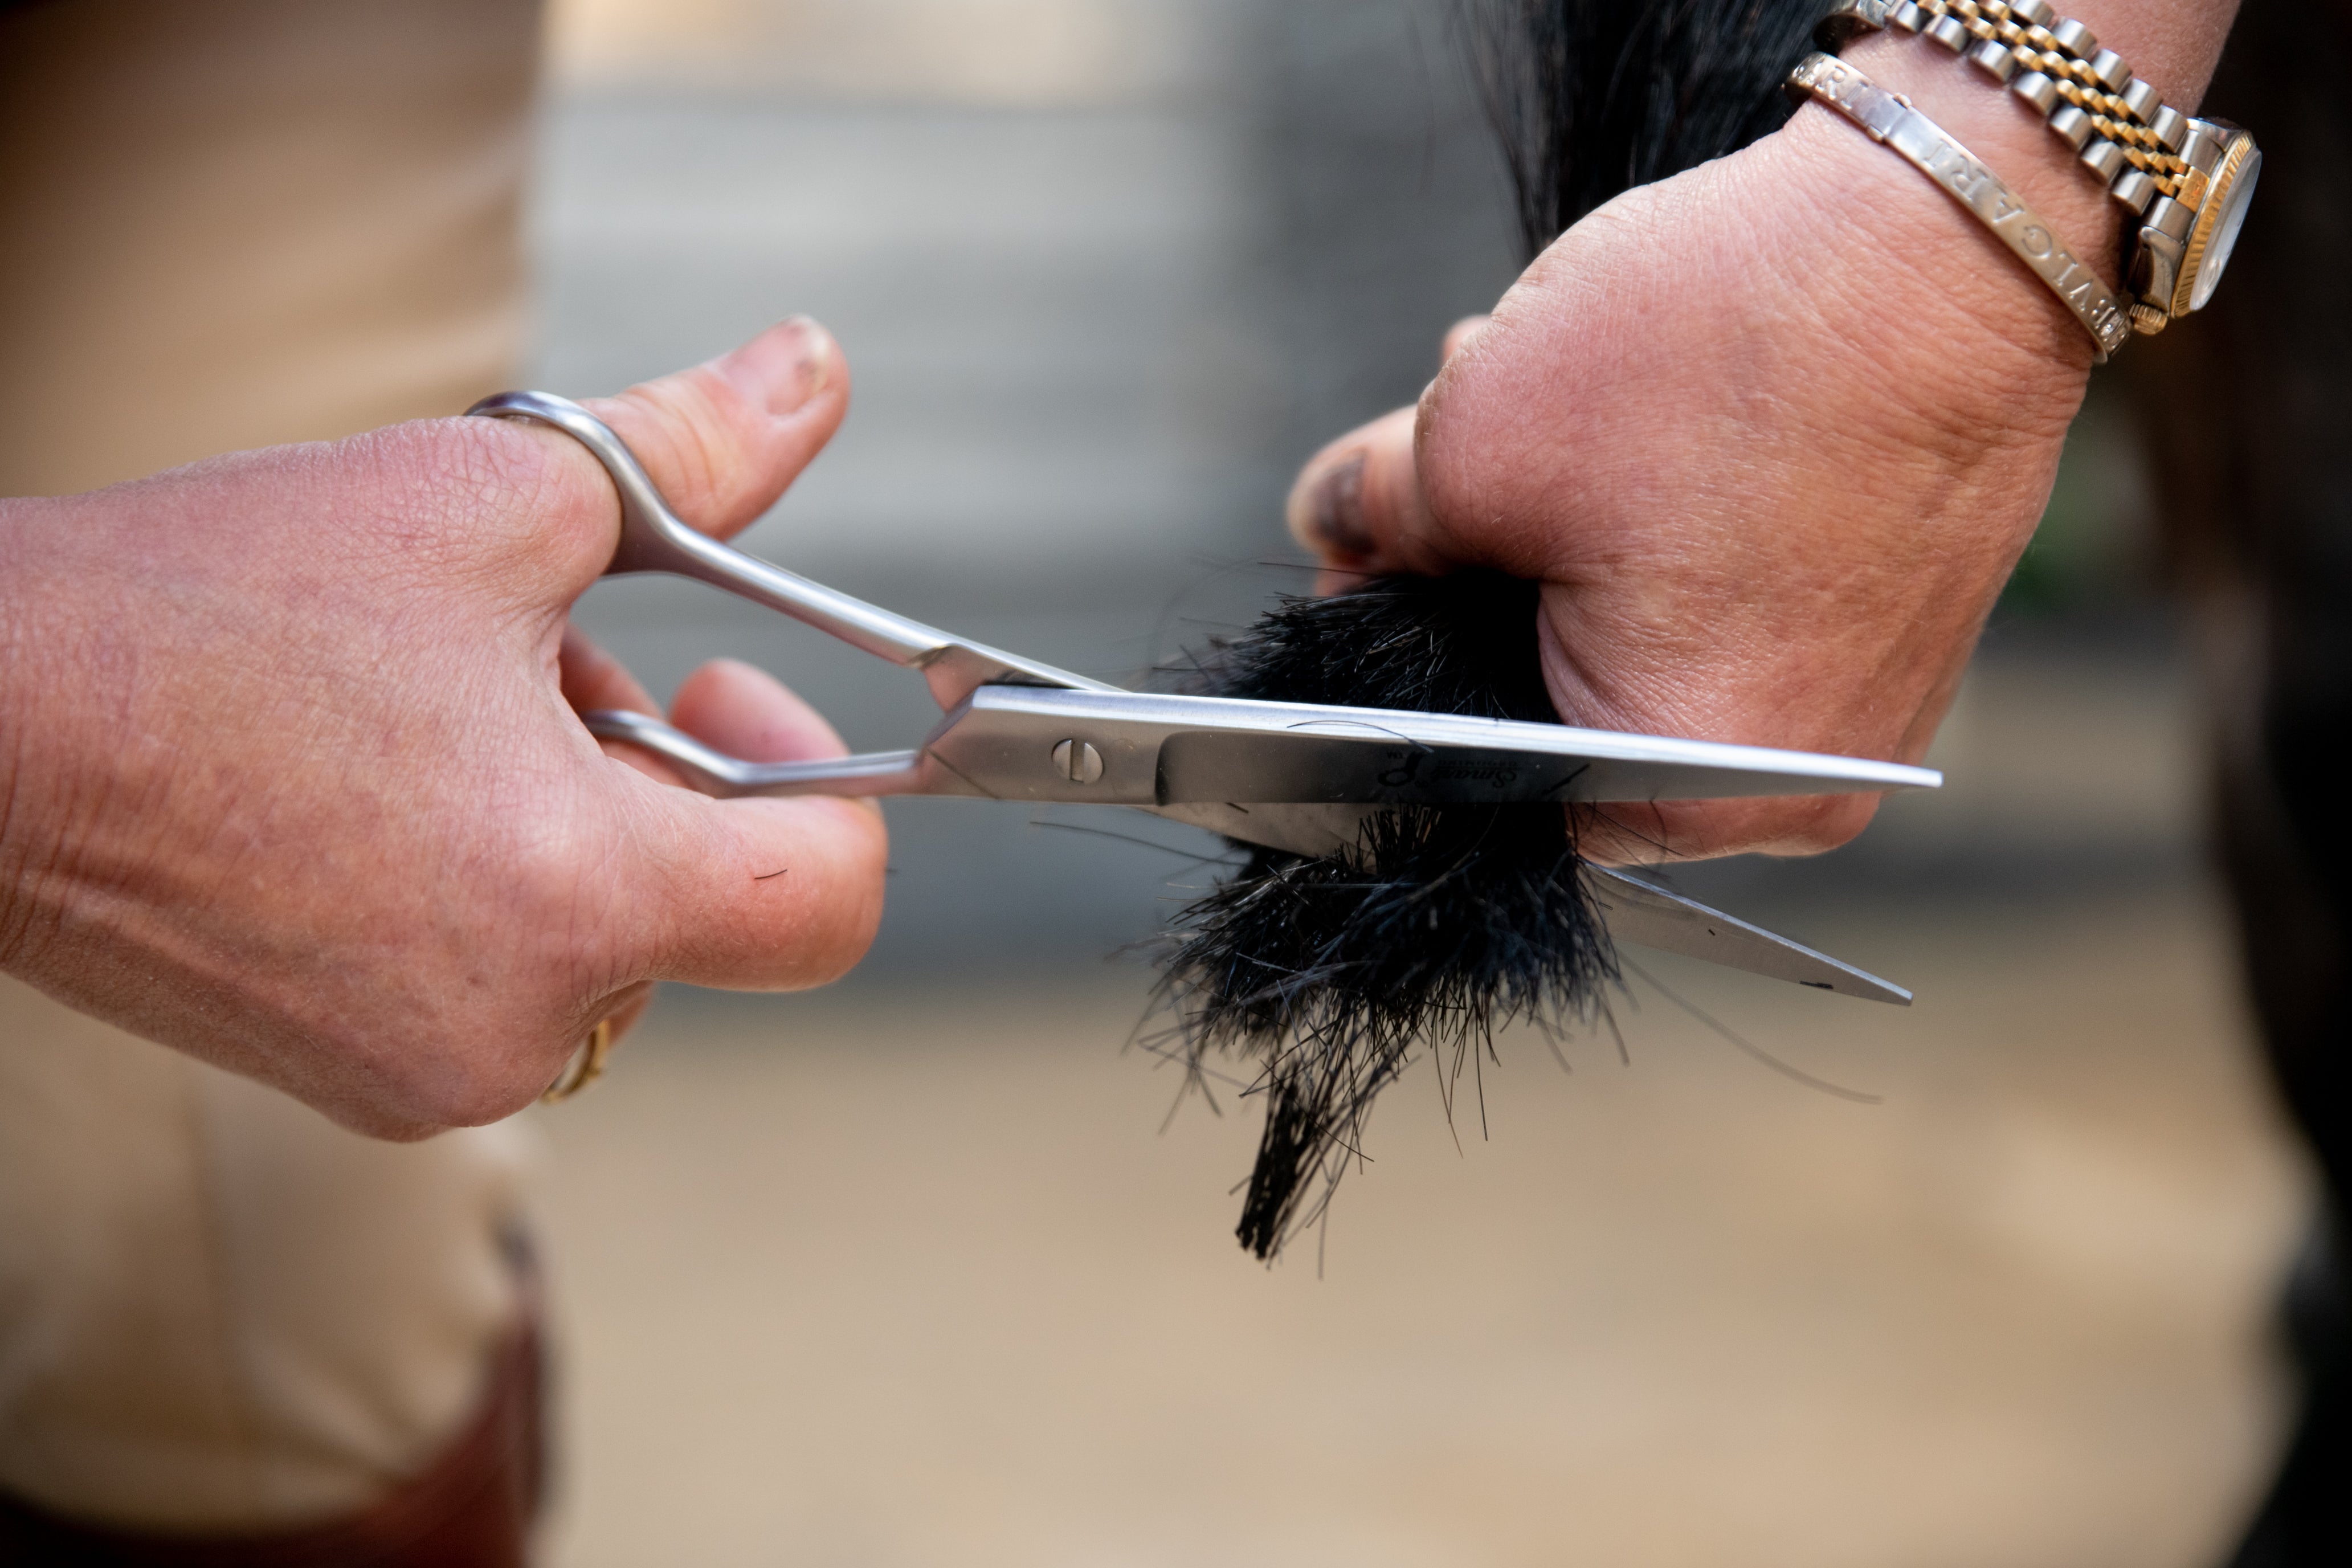
Wenn Sie die Zöpfe/Flechtfrisuren lösen möchten, tun Sie dies vorsichtig, um die Mähne nicht zu beschädigen. Wir empfehlen die Verwendung des Quick Unpicker anstelle einer Schere. Dieser hat eine kleine Klinge an der Kante und kann präzise gegen den Faden oder die Bänder geführt werden, um zu schneiden, ohne die Mähne zu berühren.
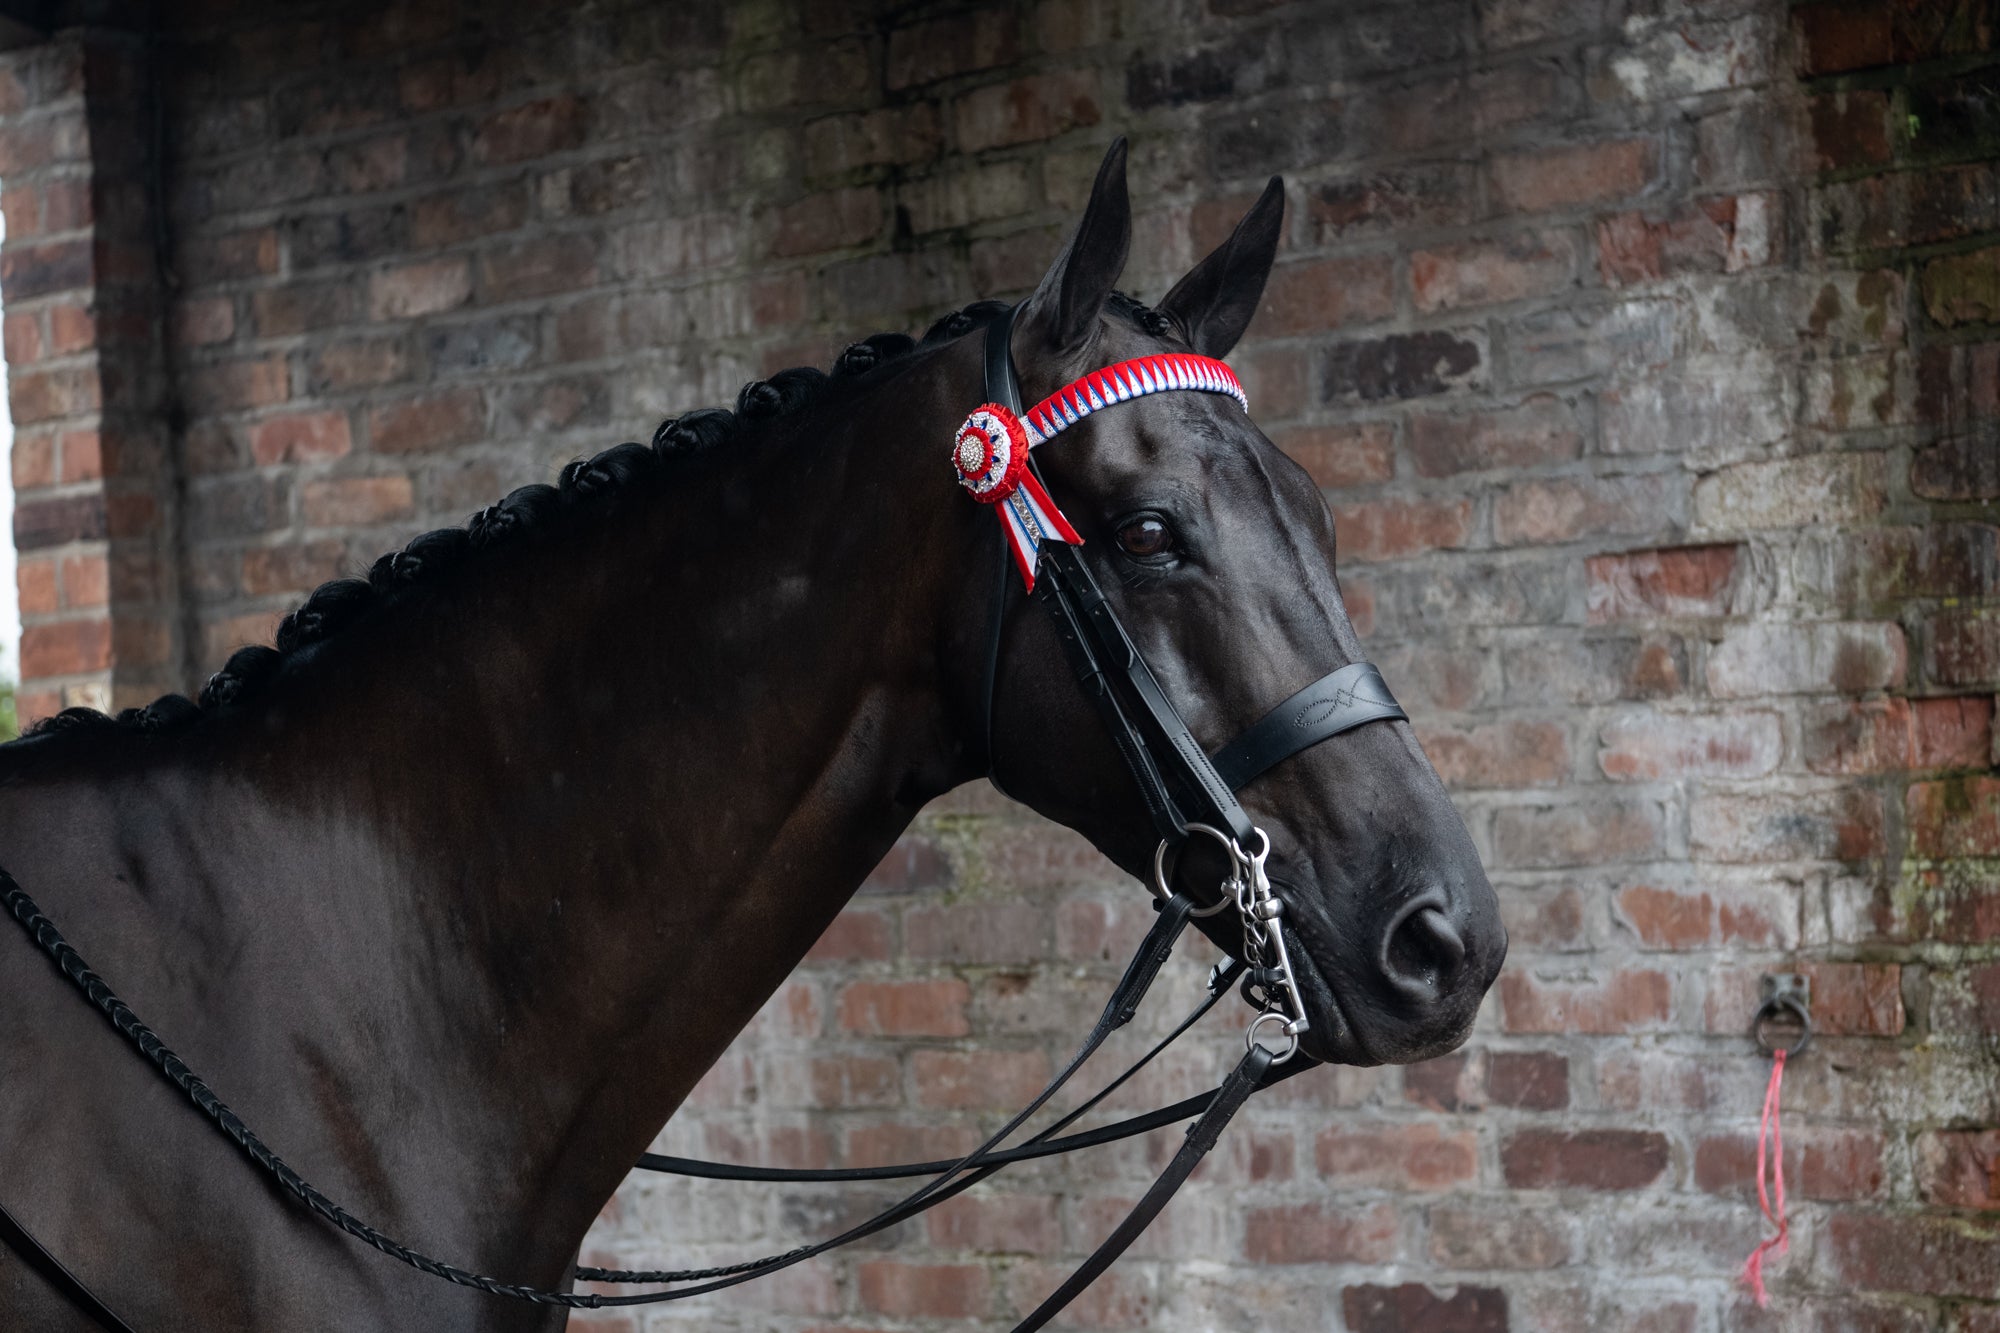
Genießen Sie die Reise, Flechten ist eine echte Kunst und es gibt viele Stile, um den Hals und die Kontur des Pferdes hervorzuheben.
Weitere Flechttipps mit unseren Produkten finden Sie auf unserem YouTube-Kanal oder auf unseren Instagram- oder Facebook-Seiten.
Hinterlassen Sie einen Kommentar