
Trimming for definition will enhance the overall look of your horse as well as give you the satisfaction of having a beautifully turned out animal, even if it is not plaited or going in the ring.
Getting to know the look that best suits your horse is something that may take a few practice sessions, so try not to get over enthusiastic with scissors and trimmers the day before your first big outing, just in case the makeover isn’t quite what you were after.
Some breed societies do not allow trimming of any sorts, so it is also best to check society rulings before removing too much hair.
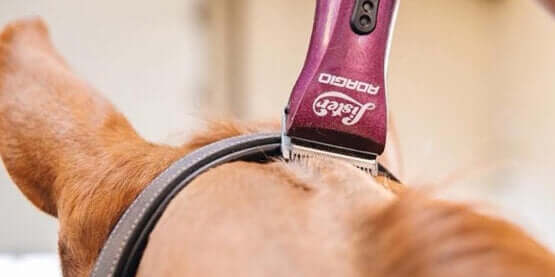
Areas for trimming include manes, tails, under the jaw, ears, whiskers, tail and the feathers down the backs of the legs. The larger areas can be done with small battery trimmers and will give a very close neat finish and definition to ears and jaw line.
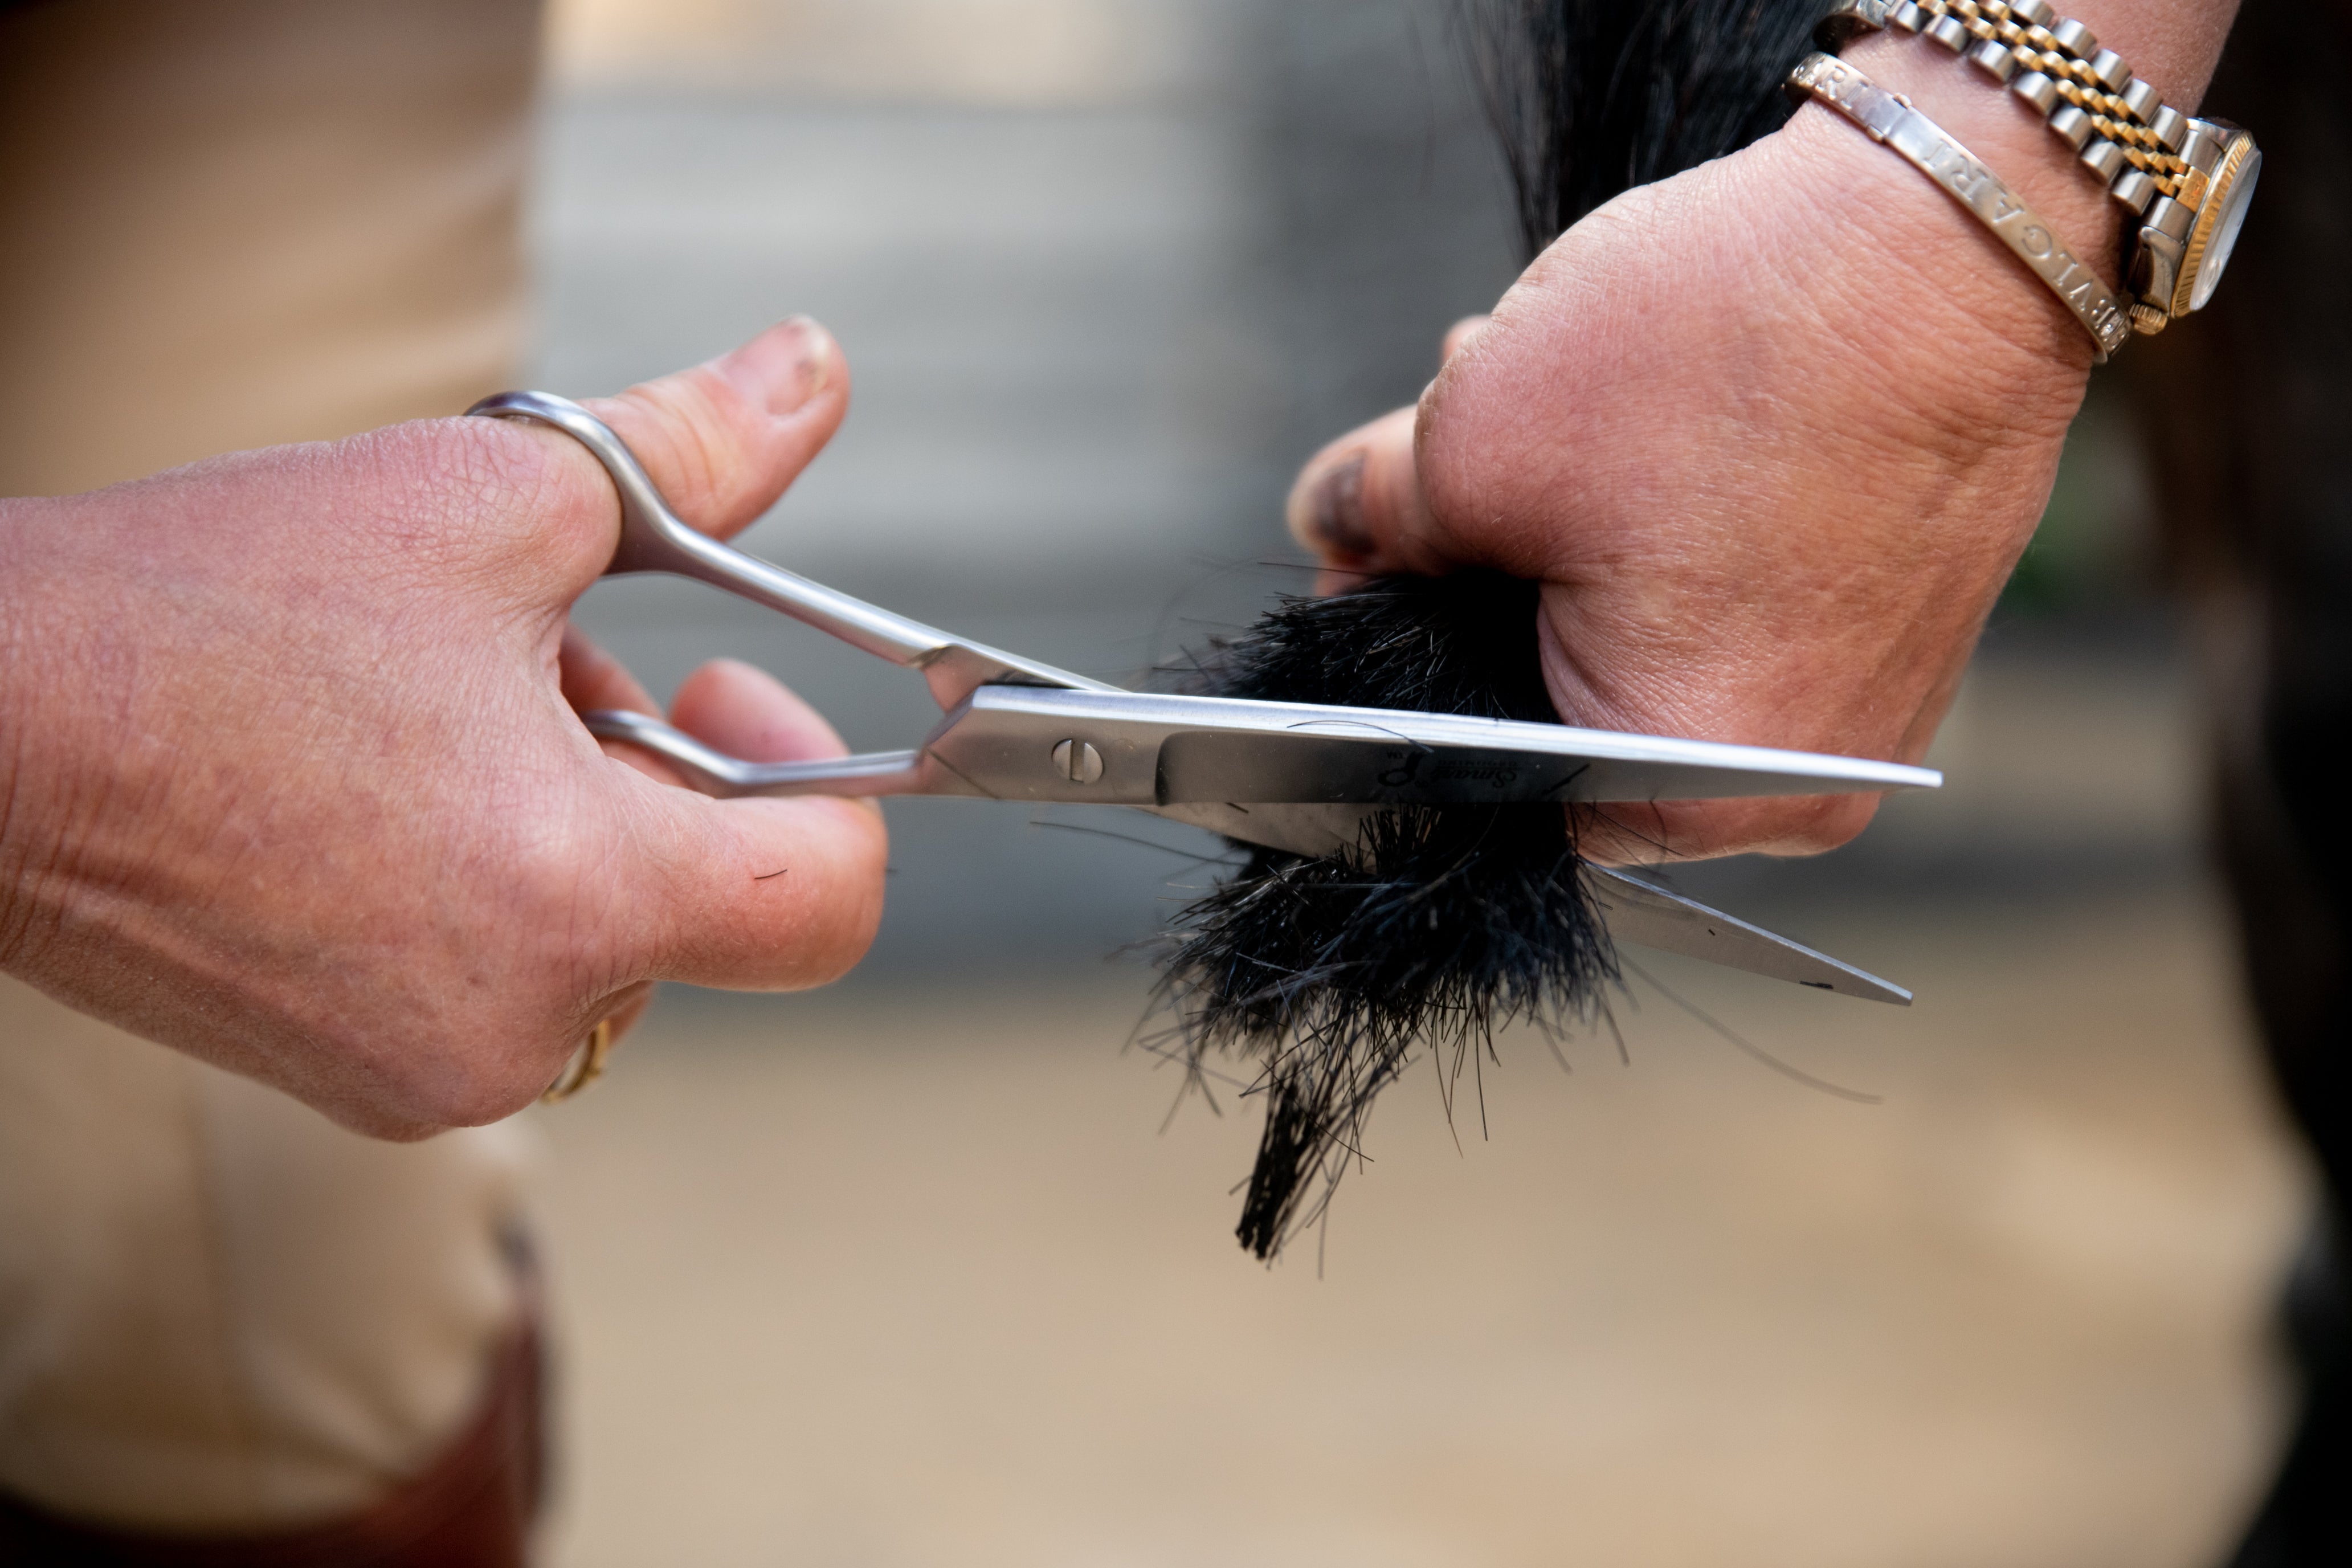
Ears - For tidy ears, trim the edge to give definition. A safe way to do this is to squeeze the edge of the ears together and then using scissors trim downwards, safety scissors with rounded ends are by the safest ones to use. Alternatively use a small trimmer in the same way. Some people clip out the insides of the ears as well, but this is not something we recommend as a certain amount of protection is needed, particularly in the summer months from bugs and flies.

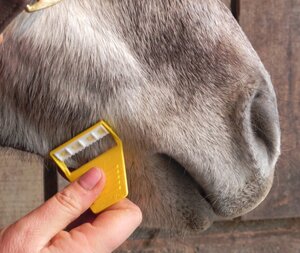
Whiskers - Whisker trimming is a very controversial subject and is banned in some countries, if this is something you are considering, check with your country and associations rulings. Suffice to say, if you do go down this road, using a special safety razor such as the Equi-Shave will be a far safer option than using scissors
Bride Path - It is sometimes easier to clip a small area of hair off behind the ears just behind the poll and where the headpiece of the bridle would sit. This allows the headpiece of the bridle to sit flat and is easier to arrange without having to part masses of hair to find a suitable place for it to sit. Small trimmers or blunt ended scissors are ideal to use to get this area trimmed.
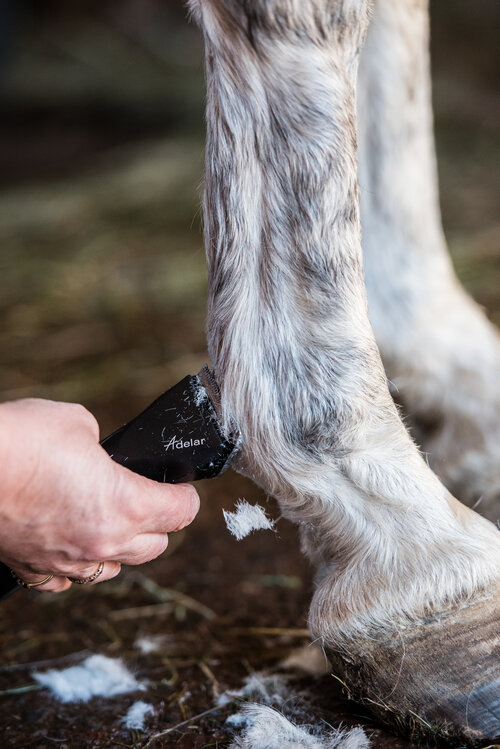
Legs - Lastly looking down the legs, some animals grow excessive amounts of hair which can make the legs look rather coarse, and with a bit of trimming or clipping depending on how much needs to be removed, can totally transform the appearance of a horse from a rather plain looking hairy cob into a very smart hunter.
There are many methods of tidying the leg hair. For a close finish use a clipper or trimmer. Clip downwards and then blend in with the rest of the coat by turning the blade over and lightly brushing the blade down to blend in gradually to the clip that has just been done. Clipping against the hair will give you a closer finish and can also be blended by the method already mentioned. Some clippers will have a snap on blade system which then gives more of a choice to the grade of blade to use and finish.
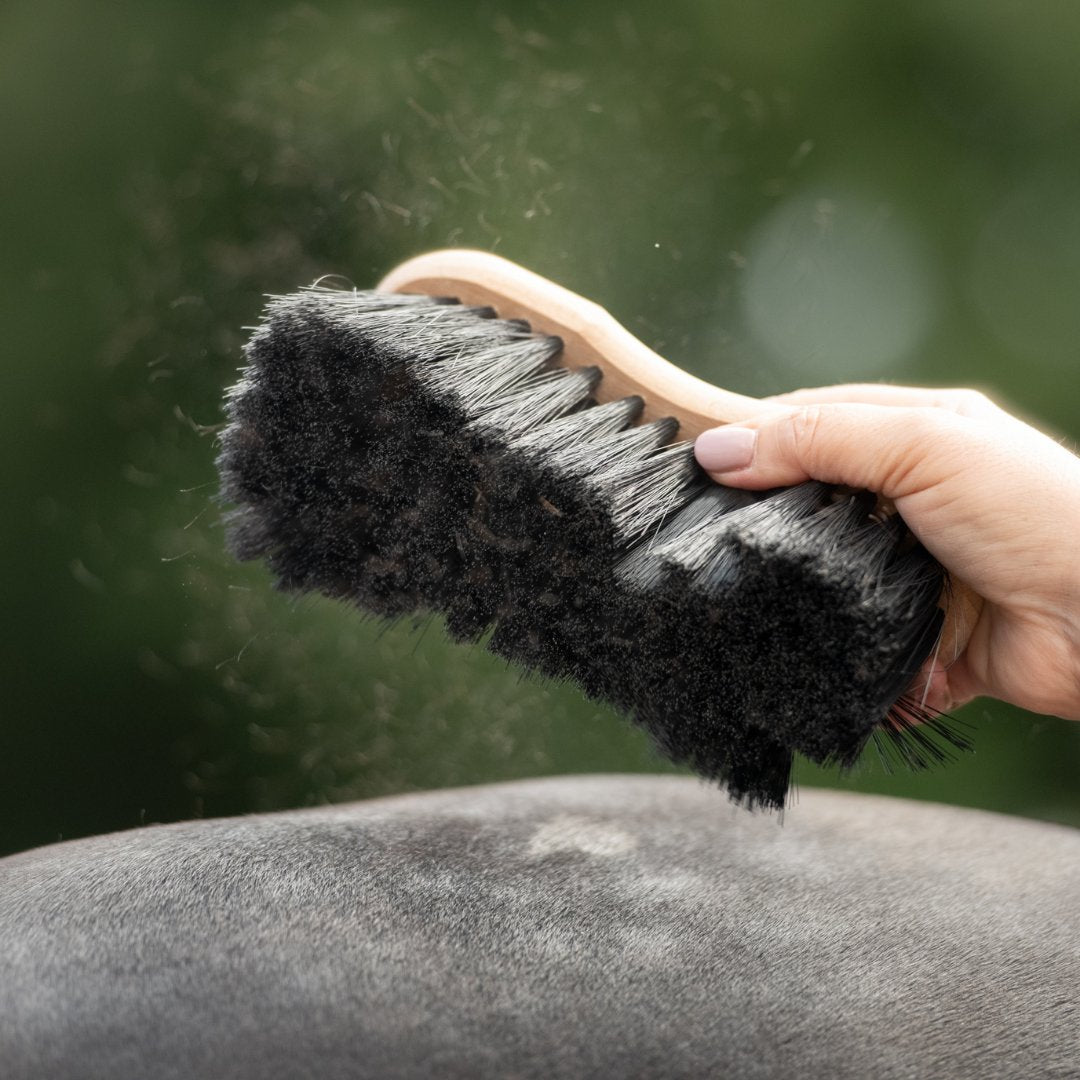
For a more natural finish or for thinning of a lot of leg hair, the Smart Tails or Smart Manes rake is very effective, particularly when used in a downward action. This will thin out the long thick hair without showing that it has been touched and useful for show horses that are not allowed to be seen to be trimmed. This is useful to do during the summer months to help with keeping legs cool and less itchy.
For light leg hair trimming, then look to curved safety scissors, they will happily trim fine hair down the backs of legs and into the heels.
-
Cat hairs - Cat hairs are the long straggly hairs that appear on coats and legs towards the end of winter when coats are changing. These hairs just seem to stay around for longer than they need and can be easily removed by skimming over the top with a razor such as an Equi-Shave. This will leave a neat finish and is particularly good down the backs of legs to give a smart neat look and give definition back to a winter woolly coat.
-
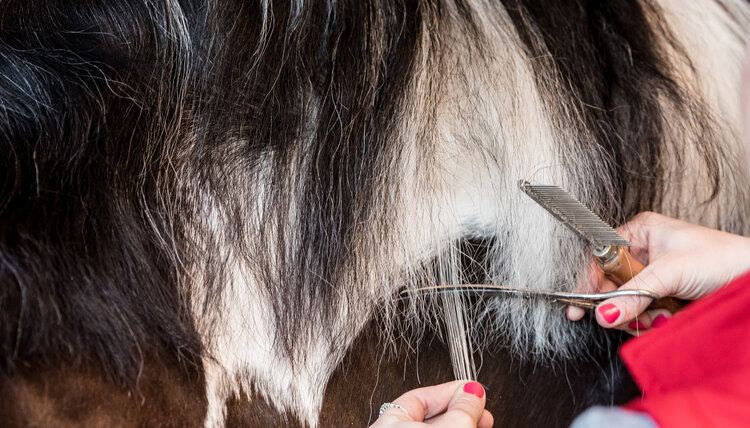
Tails - Lastly for tails – again depending on what classes you are entering – most ridden classes except M&M’s would usually be pulled. This means removing all the bushiness around the top third of the tail leaving a neat profile which shows off the hind quarters.
There are different ways to achieve this look – you can go down the traditional root of tail pulling using a mane comb or finger and thumb with rubber gloves on. If you do this over a few days, and incorporate it as part of the grooming session, the horse will not get so sore and will tolerate it more readily. If you don’t want to cause any discomfort but still want the “pulled” tail finish, then use the Smart Tails rake to comb down through the sides of the tail. This will thin it out and give it a tidy show ring finish within minutes as well as being humane and pain free for your horse.
Whichever way you choose to tidy the tail, you will still need to work your way down the side going to about two thirds of the way down the dock, tapering it in as you get further down. Make sure you leave the long hairs down the centre and only thin out from either side. Once you have done as much as you would like, damp the tail and tail bandage, to keep it in shape. Remove bandage after an hour or so and check, and then make final touches as necessary.
For the final finish check the length of the tail and cut the bottom at the level that is correct for the confirmation and type of horse that you have. If it is a very thick tail it is easier to cut across using clippers rather than scissors.

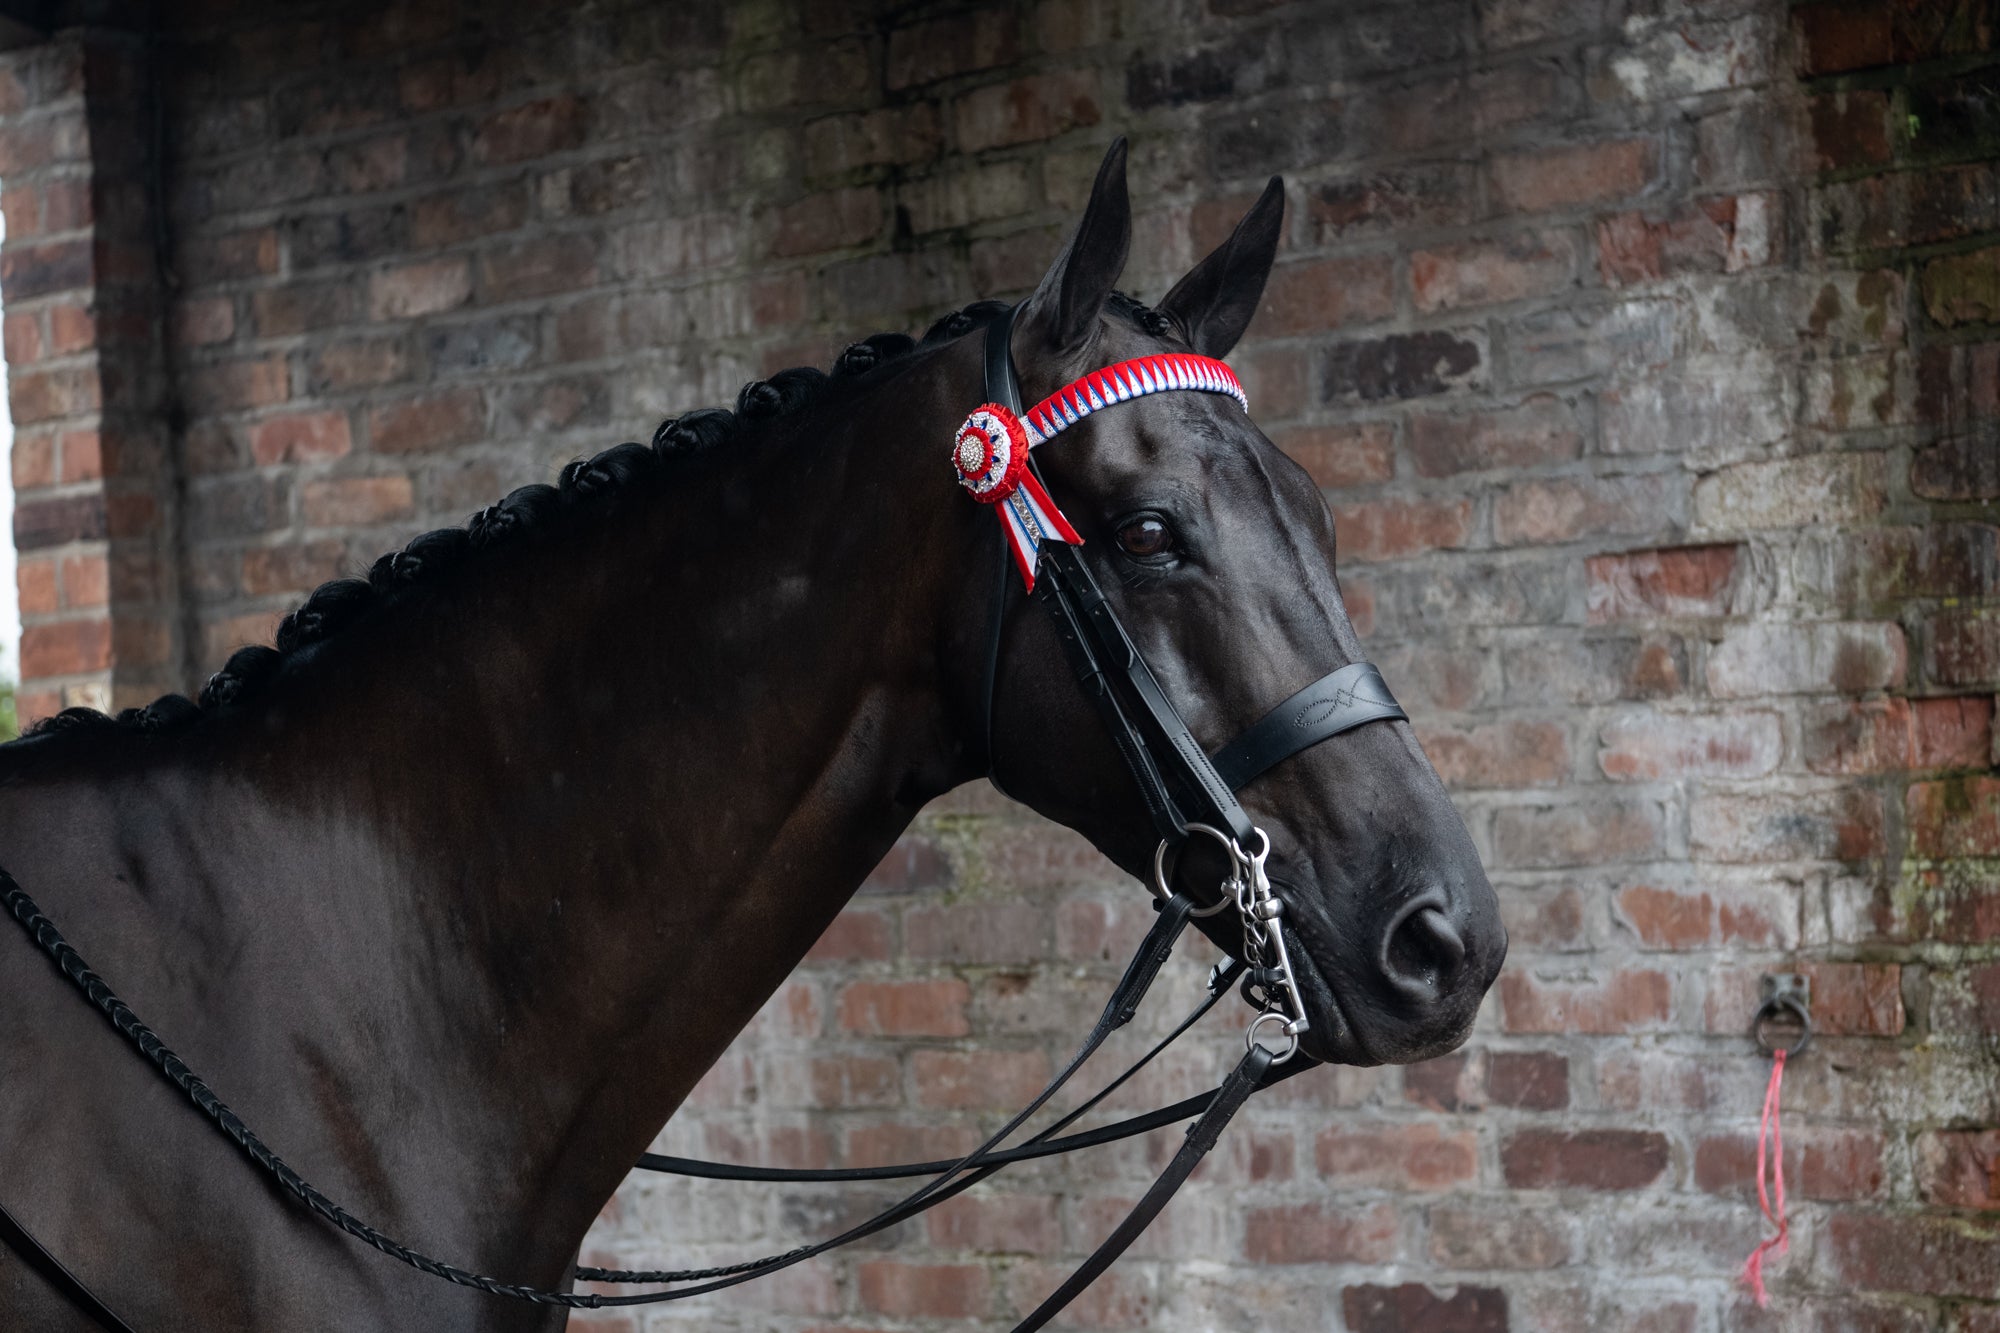
Manes - If you are going to be plaiting your horse on a regular basis, it is far easier to plait an even length of mane which is not too long and thick otherwise you may well end up with rather large golf ball type plaits which may not do justice to the overall turnout.
Mane pulling can be quite uncomfortable for the horse, so to make it as bearable as possible if traditionally methods are used, ensure the horse is warm. A good time is after exercise when the pores of skin are soft and more open. Mane pulling will shorten and thin the hair, ideally leaving around 3-5” of mane.
Start at either the top or the bottom of the mane. Take hold of the long straggly hairs and back comb and then twist around a mane comb and then pull sharply. Don’t take too much at a time, its quicker and easier in the long term to take small bits. Continue along until you have a level finish and the mane is thinned to the amount you are happy with.
There are many other ways to thin and shorten manes that are humane and will cause no discomfort. For thick manes, we recommend using a thinning rake such as the Smart Manes. Brush out the mane on the wrong side and then comb the rake down the mane carefully and evenly, this will thin out the hair. Brush the mane back over and comb through. If it then needs levelling or shortening, this can be down by back combing the long bits and then cutting with scissors or a thinning knife. Alternatively, an old clipping blade can be useful for this job too.
If the mane is long and very thin, don’t pull it, as this will only make it even thinner. It is best to shorten by backcombing and cutting with scissors, razor or thinning knife.
Leave a comment