
Katie nous guide étape par étape à travers le processus qu'elle suit pour tresser ses chevaux pour le ring…
- Tout d'abord, préparez et mettez tout en place : c'est ennuyeux d'arriver au bout d'une tresse et de se rendre compte que votre aiguille enfilée est hors de portée. Nous préférons tresser le matin d'un spectacle, même si cela peut nous obliger à travailler dans le noir. Vous avez besoin d’une lumière plus brillante que celle que projettent la plupart des lumières stables, c’est pourquoi je porte une casquette avec une torche attachée au bord. Cela me permet de me concentrer sur le domaine précis sur lequel je travaille. Pour gagner du temps, j'enfile la veille beaucoup d'aiguilles avec du fil à tresser et je les garde coincées dans une petite éponge pour ne pas les perdre. L'éponge, ainsi qu'un peu de gel à tresser et une pince pour maintenir les cheveux lâches de la crinière pendant que je fais chaque tresse, vont dans la poche de ma salopette à tresser. Une fois organisé, le processus est le suivant :
- Appliquez du gel à tresser ou, si vous préférez, mouillez les cheveux et divisez-les en sections égales. Les tresseuses expérimentées peuvent le faire à l'œil nu, mais si vous n'êtes pas sûr, sectionnez la crinière et fixez chaque section avec un élastique ou une pince à cheveux.
- Commencez à tresser au bureau de vote. Si un cheval devient agité pendant le processus de tressage, il est plus facile de terminer les tresses près du garrot que celles près de ses oreilles.
- Divisez la section en trois sections égales et plus petites et tressez jusqu'en bas. Pendant que vous tressez, gardez la tension tendue mais égale. Cependant, si vous souhaitez fixer chaque tresse en une « capuche » de cheveux sur le dessus du cou, pour donner une impression de plus de matière, ne tirez pas vos deux premiers croisements aussi tendus que les suivants.
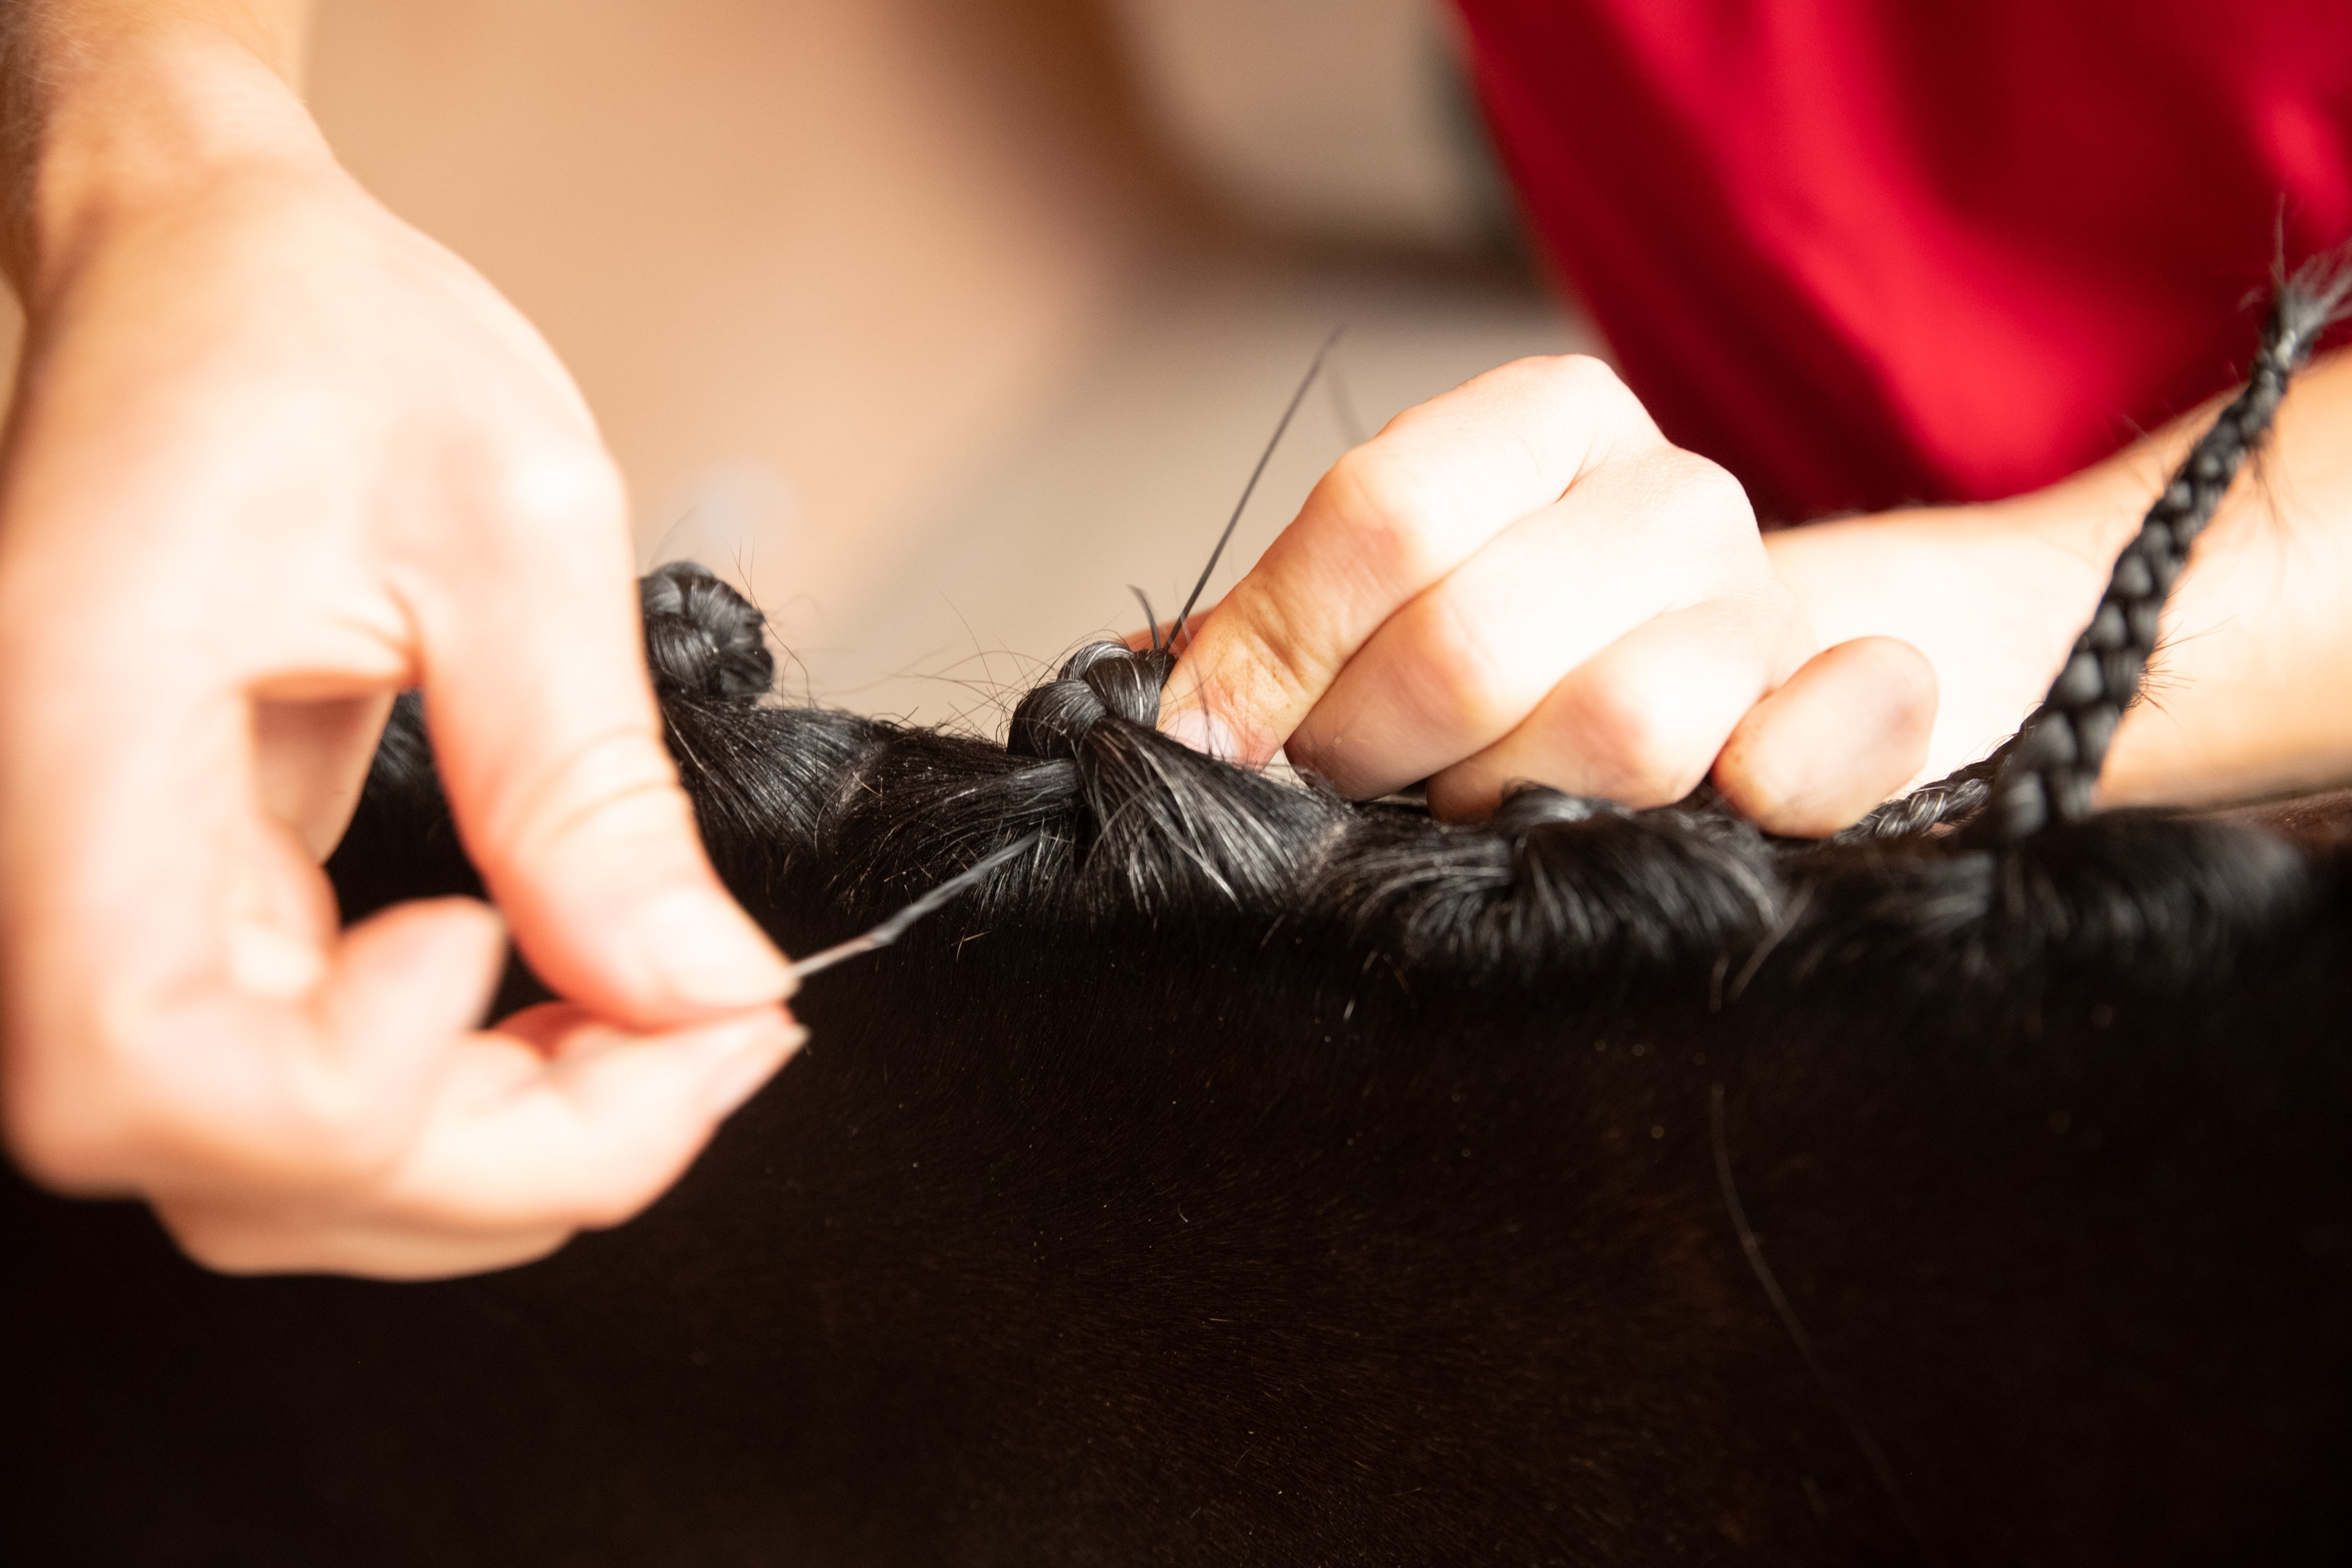
- Remontez l'extrémité de la tresse et attachez-la avec votre coton noué pour maintenir les poils dénoués en place.
- Enfilez l'aiguille dans la base de la tresse d'avant en arrière, puis passez l'aiguille dans le haut de la tresse d'arrière en avant, afin que la tresse soit doublée.
- Cousez au centre en suivant les zigzags faits par les mèches de cheveux pour cacher les points.
- Passez l'aiguille du bas de la tresse, de l'avant vers l'arrière, à travers le bas. Ensuite, passez-la par le haut, de l'arrière vers l'avant, afin de doubler à nouveau la tresse.
- Cousez trois fois en arrière et en avant pour maintenir la tresse en place. Si vous souhaitez placer la tresse dans une capuche pour donner l'impression que le cou a plus de substance, poussez-la en place et maintenez-la là pendant que vous cousez.
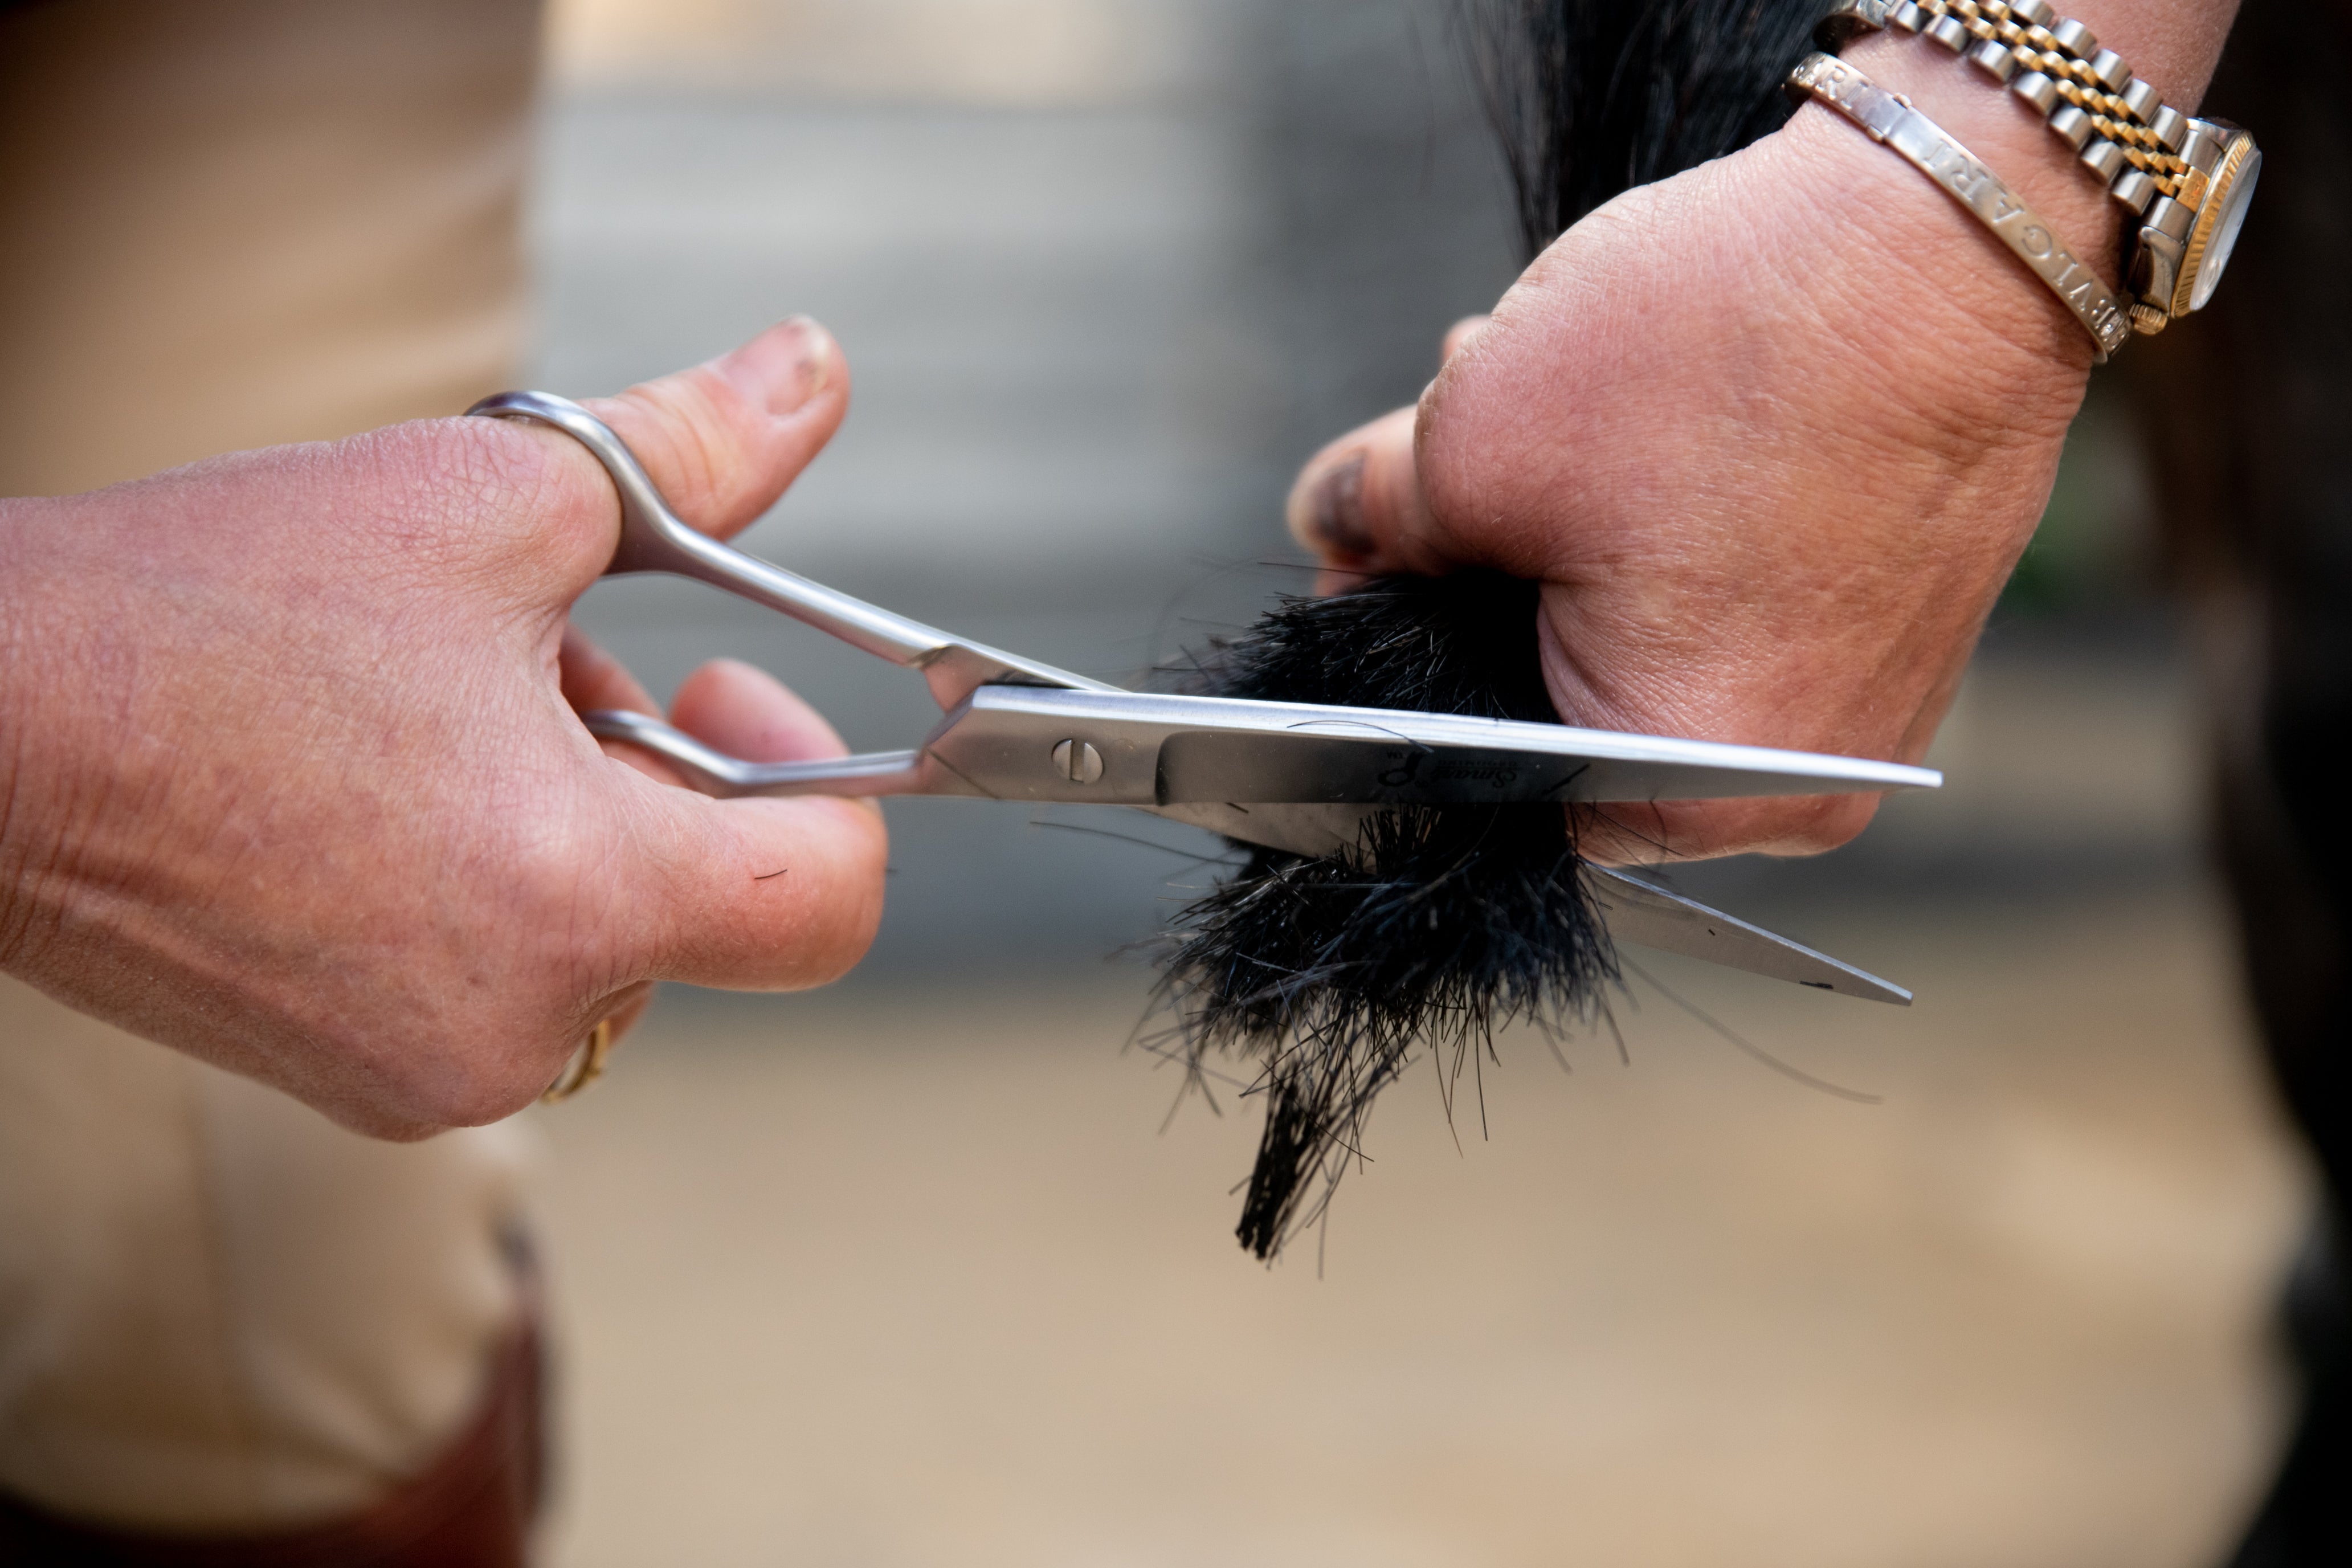
- Nouez le fil sous la tresse et coupez-le. Prenez du recul et admirez votre travail, mais ne soyez pas tenté d'arracher les poils égarés qui se sont échappés, sinon vous finirez par vous retrouver avec une frange irrégulière le long de la crête.
- Si vous avez du mal à réaliser une tresse soignée parce que votre cheval a des poils courts de chaque côté ou parce qu'il a un long toupet que vous ne voulez pas raccourcir, faites une tresse française. Tressez comme d'habitude pendant quelques tours, puis prenez une mèche de cheveux de chaque côté à chaque fois que vous les croisez.
Voulez-vous voir le processus en action ? Regardez le tutoriel de tressage de Katie sur notre Facebook maintenant !
Laissez un commentaire