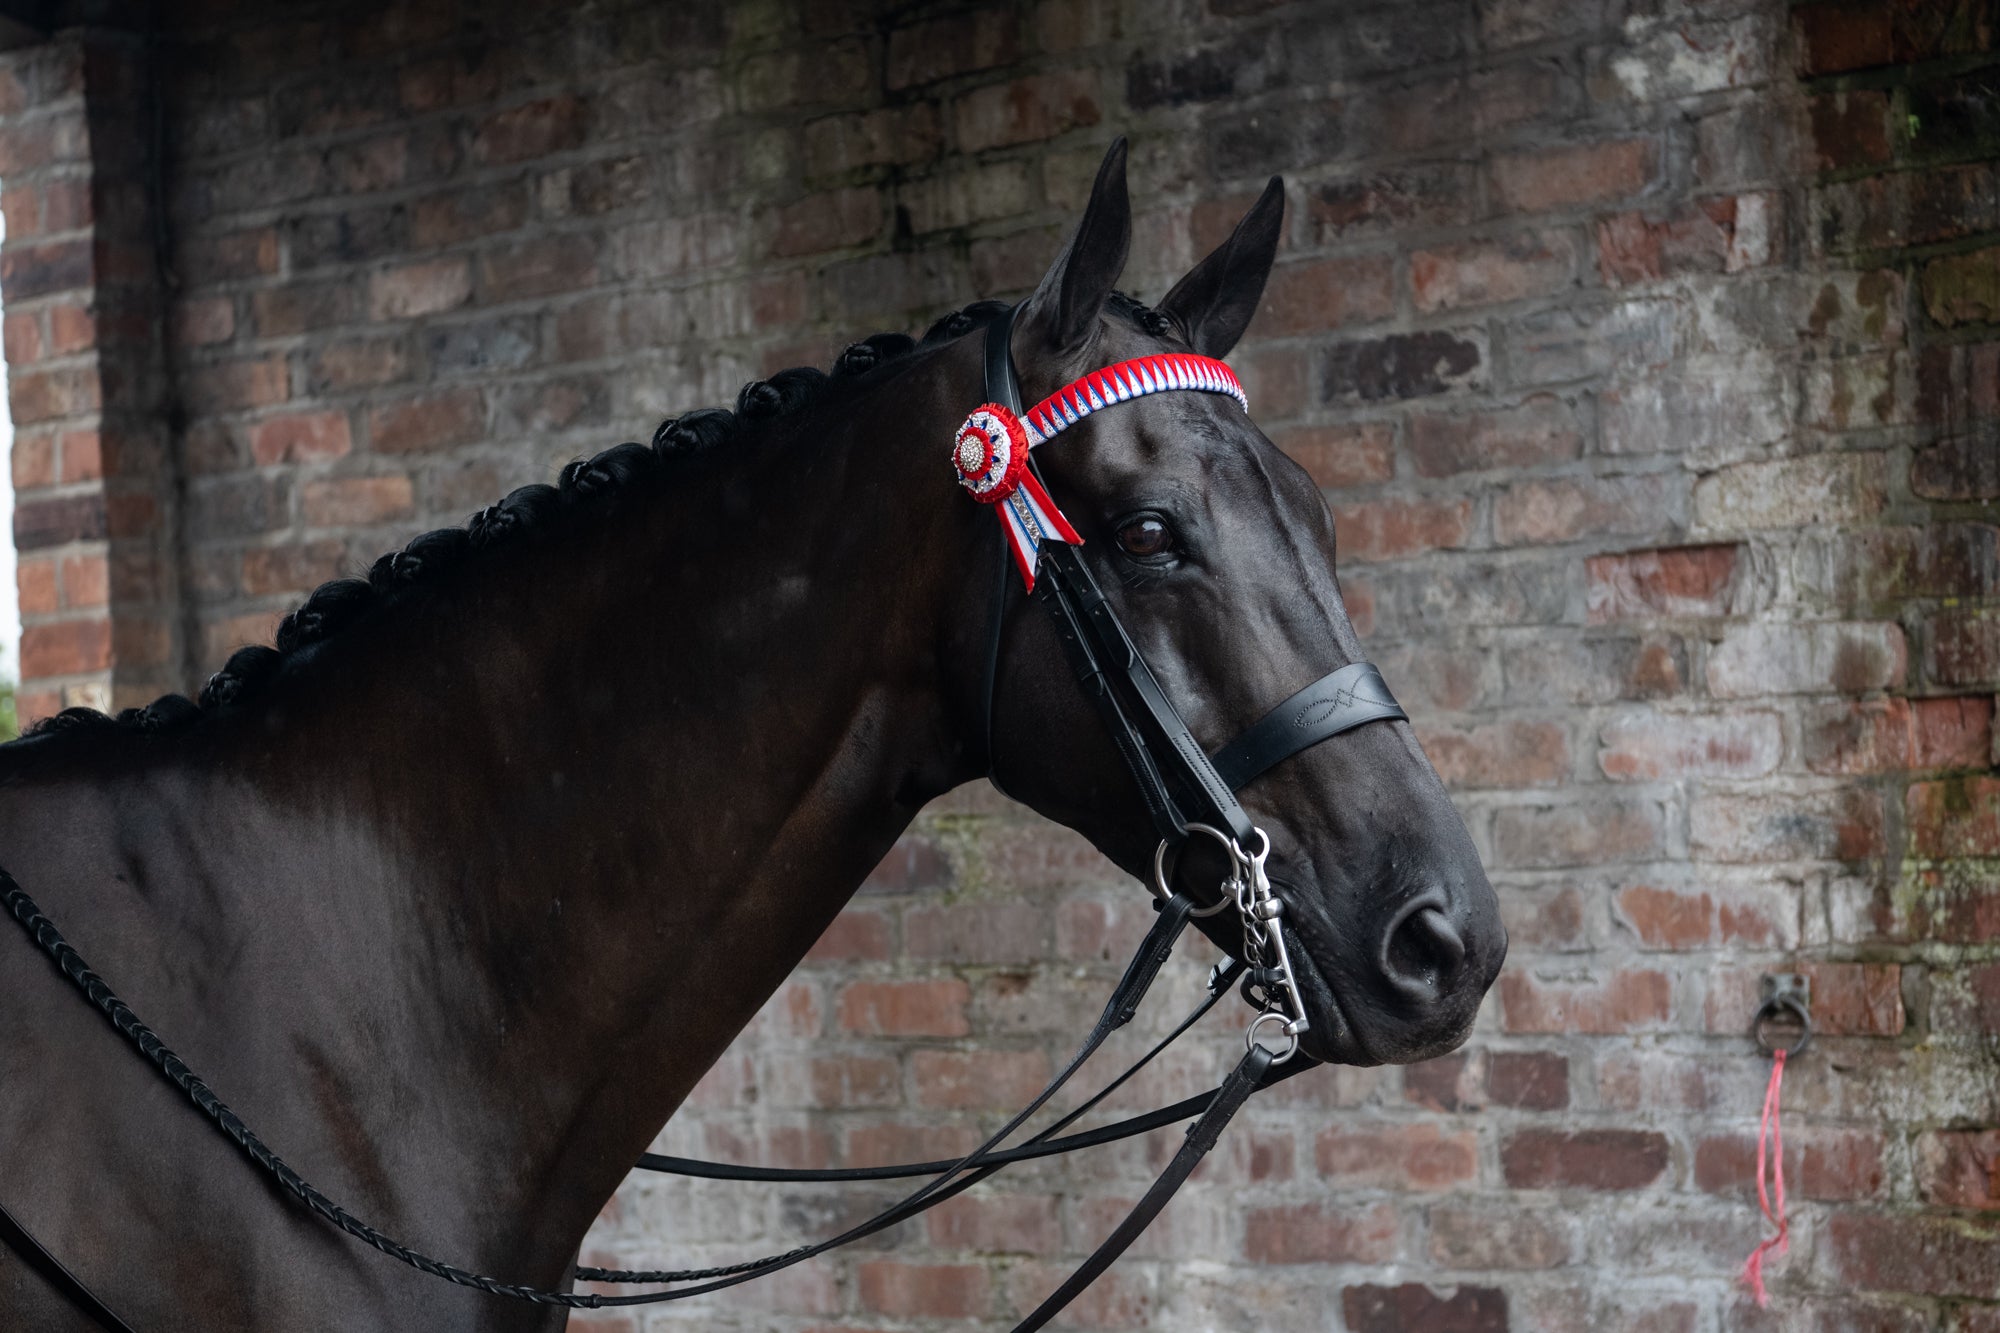
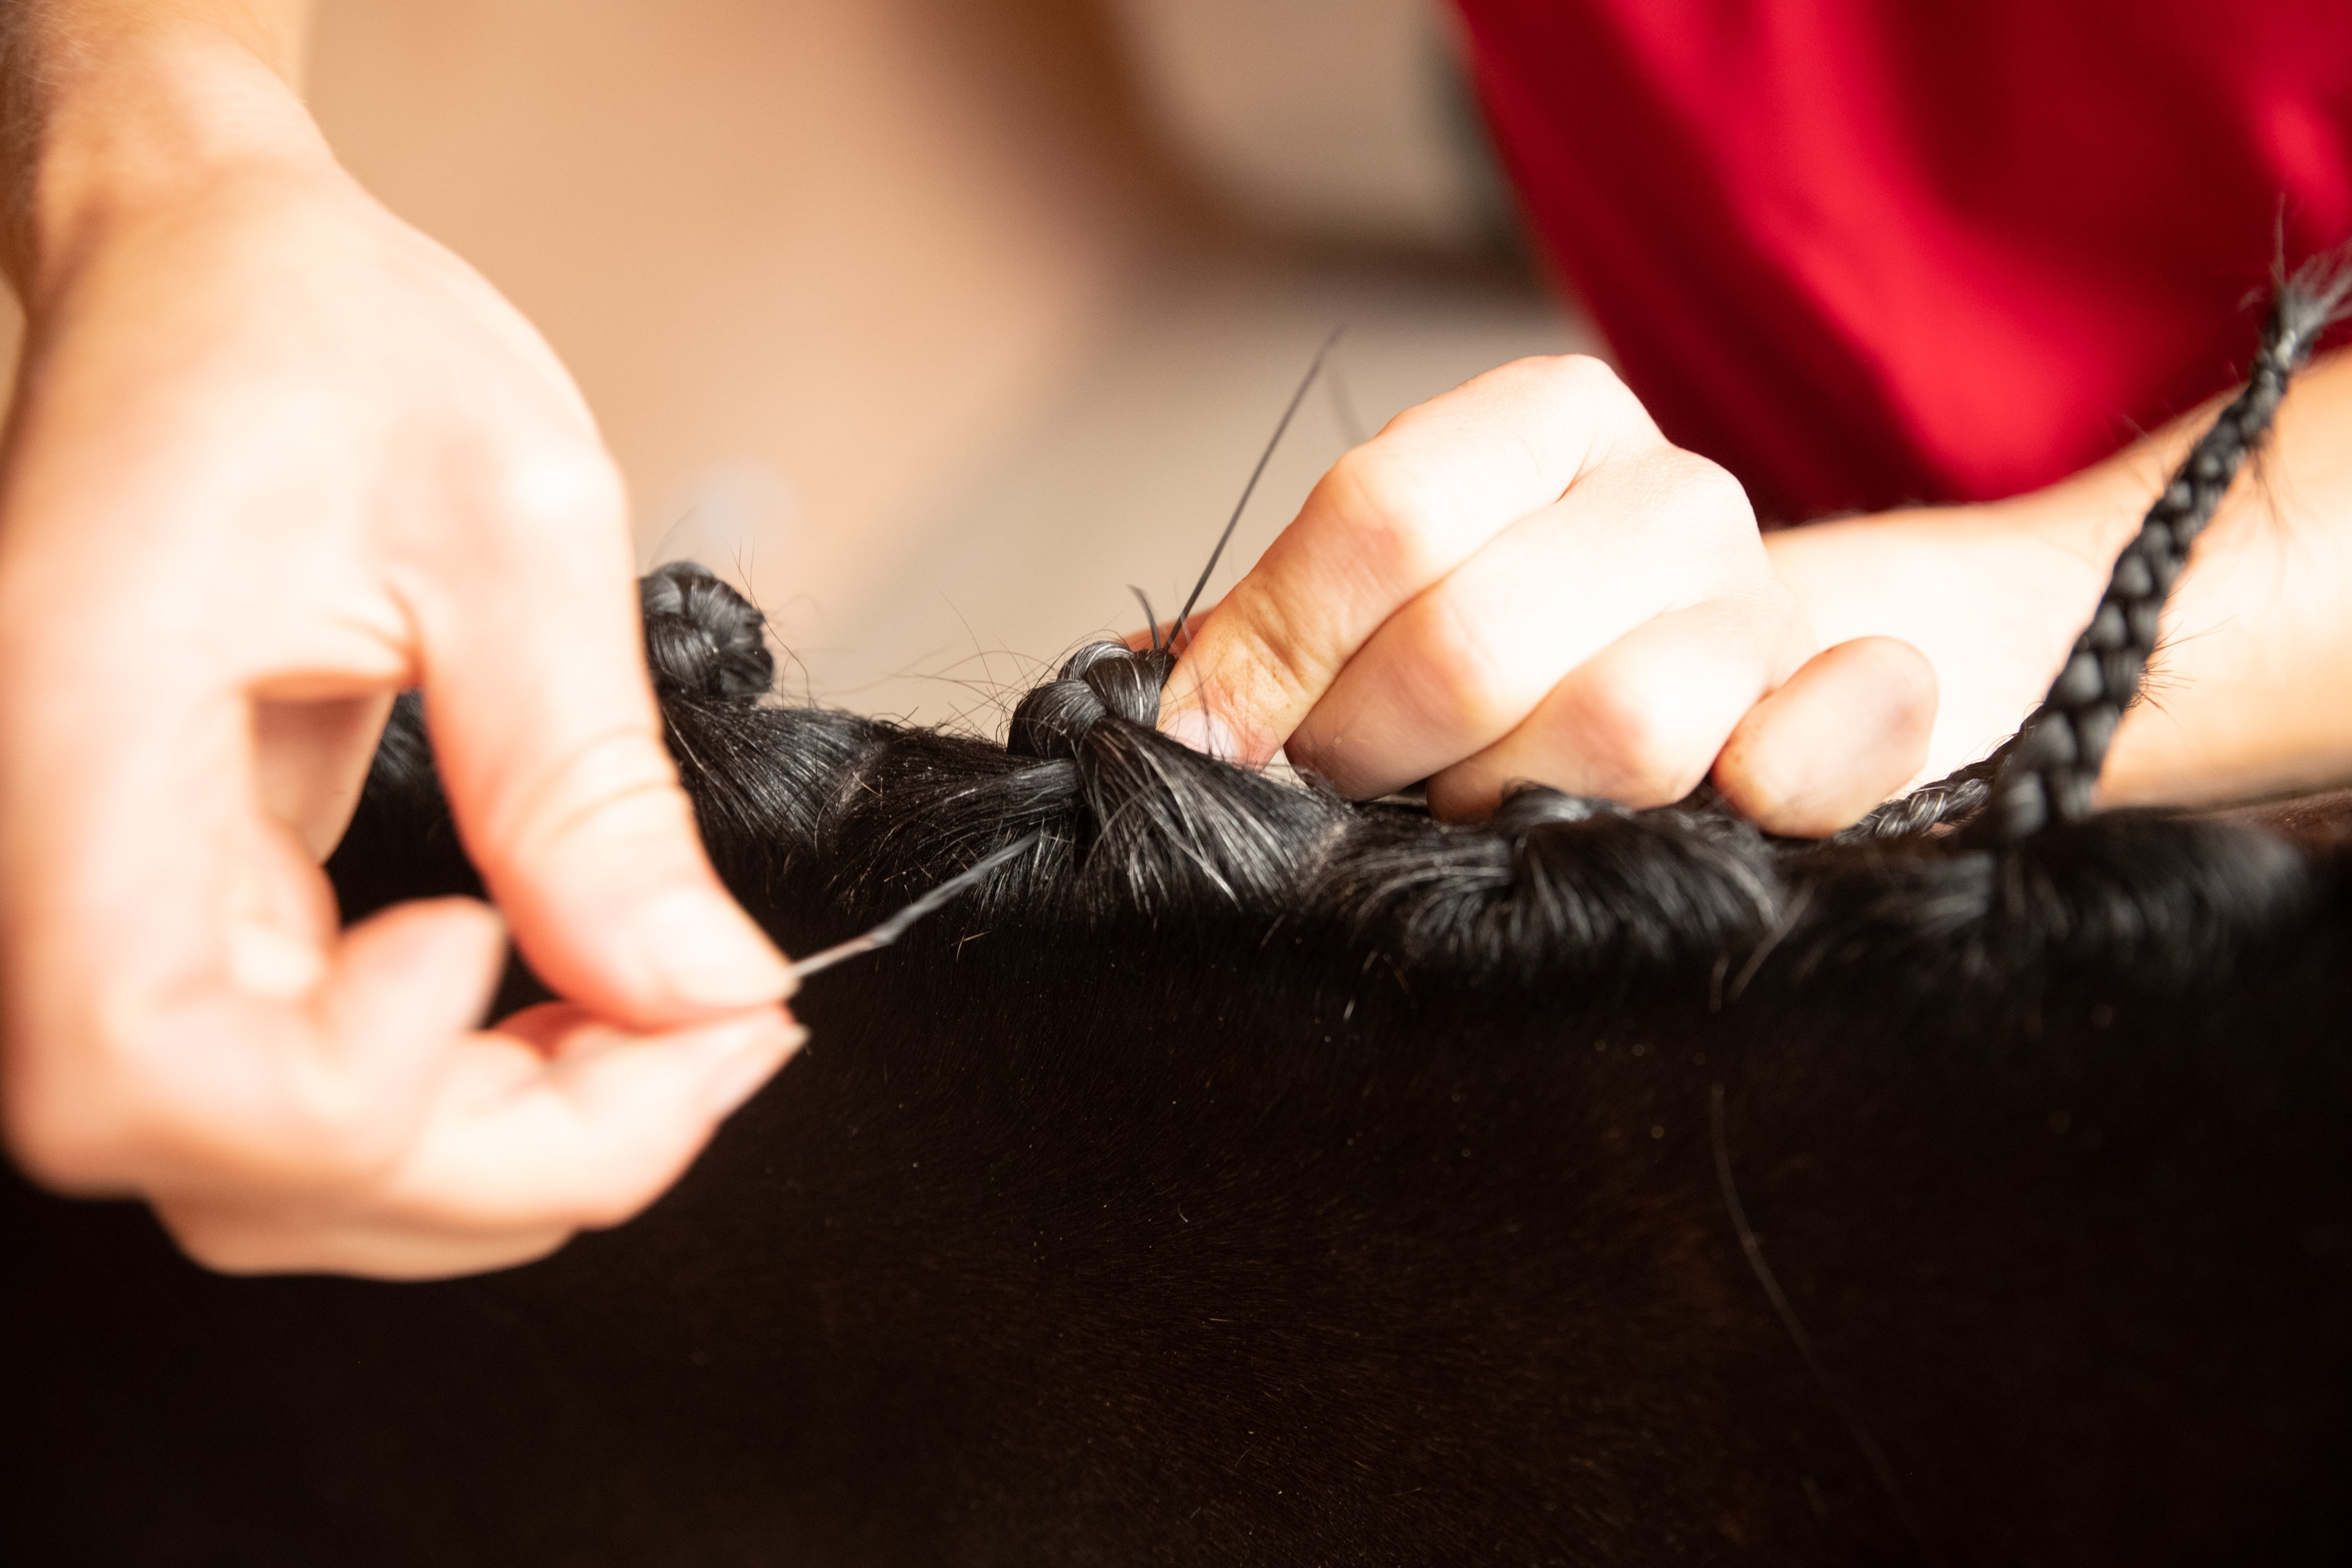
Katie walks us step-by-step through the process she follows when plaiting her horses up for the show ring…
- First, get everything ready and in place: it’s annoying to reach the end of a plait and realise your threaded needle is out of reach. We prefer to plait on the morning of a show, even though this may mean working in the dark. You need a brighter light than most stable lights throw, so I wear a cap with a torch attached to the brim. This allows me to focus on the precise area I’m working on. To save time, I thread lots of needles with plaiting thread the night before and keep them stuck in a small sponge so I don’t lose them. The sponge, plus some plaiting gel and a clip to hold loose mane hair out of the way as I make each plait, go in the pocket of my plaiting overalls. Once organised, the process is as follows:
- Apply plaiting gelor, if you prefer, wet the hair and divide into even sections. Experienced plaiters can do this by eye, but it you’re unsure, section the mane and secure each section with a band or hair clip.
- Start plaiting at the poll. If a horse becomes restless during the plaiting process, it’s easier to finish off plaits near the withers than those near his ears.
- Divide the section into three equal, smaller ones and plait all the way down. As you plait, keep the tension taut but even. However, if you want to set each plait into a ‘hood’ of hair on top of the neck, to give an impression of more substance, don’t pull your first two crossovers as taut as the following ones.
- Turn up the end of the plait and bind it with your knotted cotton to keep loose hairs secure.
- Thread the needle through the base of the plait from front to back, then take the needle through the top of the plait from back to front, so the plait is doubled up.
- Stitch down the centre, following the zigzags made by the hair sections so the stitches are hidden.
- Take the needle from and through the bottom of the plait from front to back. Next, pass it through the top from the back to the front, so you are doubling up the plait again.
- Stitch backwards and forwards three times to keep the plait secure. If you want to set the plait in a hood to give an impression that the neck has more substance, push it into place and hold it there as you stitch.
- Knot the thread underneath the plait and cut it. Stand back and admire your handiwork, but don’t be tempted to pull out any stray hairs that have escaped or you’ll eventually end up with a ragged fringe along the crest.
- If you find it difficult to make a neat forelock plait because your horse has short hairs on either side, or has a long forelock that you don’t want to shorten, make a French plait. Plait down as normal for a few turns, then take in a section of hair from each side every time you cross over.
Want to watch the process in action? Watch Katie's plaiting tutorial on our facebook now!



Lascia un commento