There are so many ways to plait a mane and tail, but to get the best results, practice and more practice is the only way to a really neat, uniform finish. Products designed specifically for plaiting and braiding will help achieve the desired look, but it still comes down to preparation and practice.
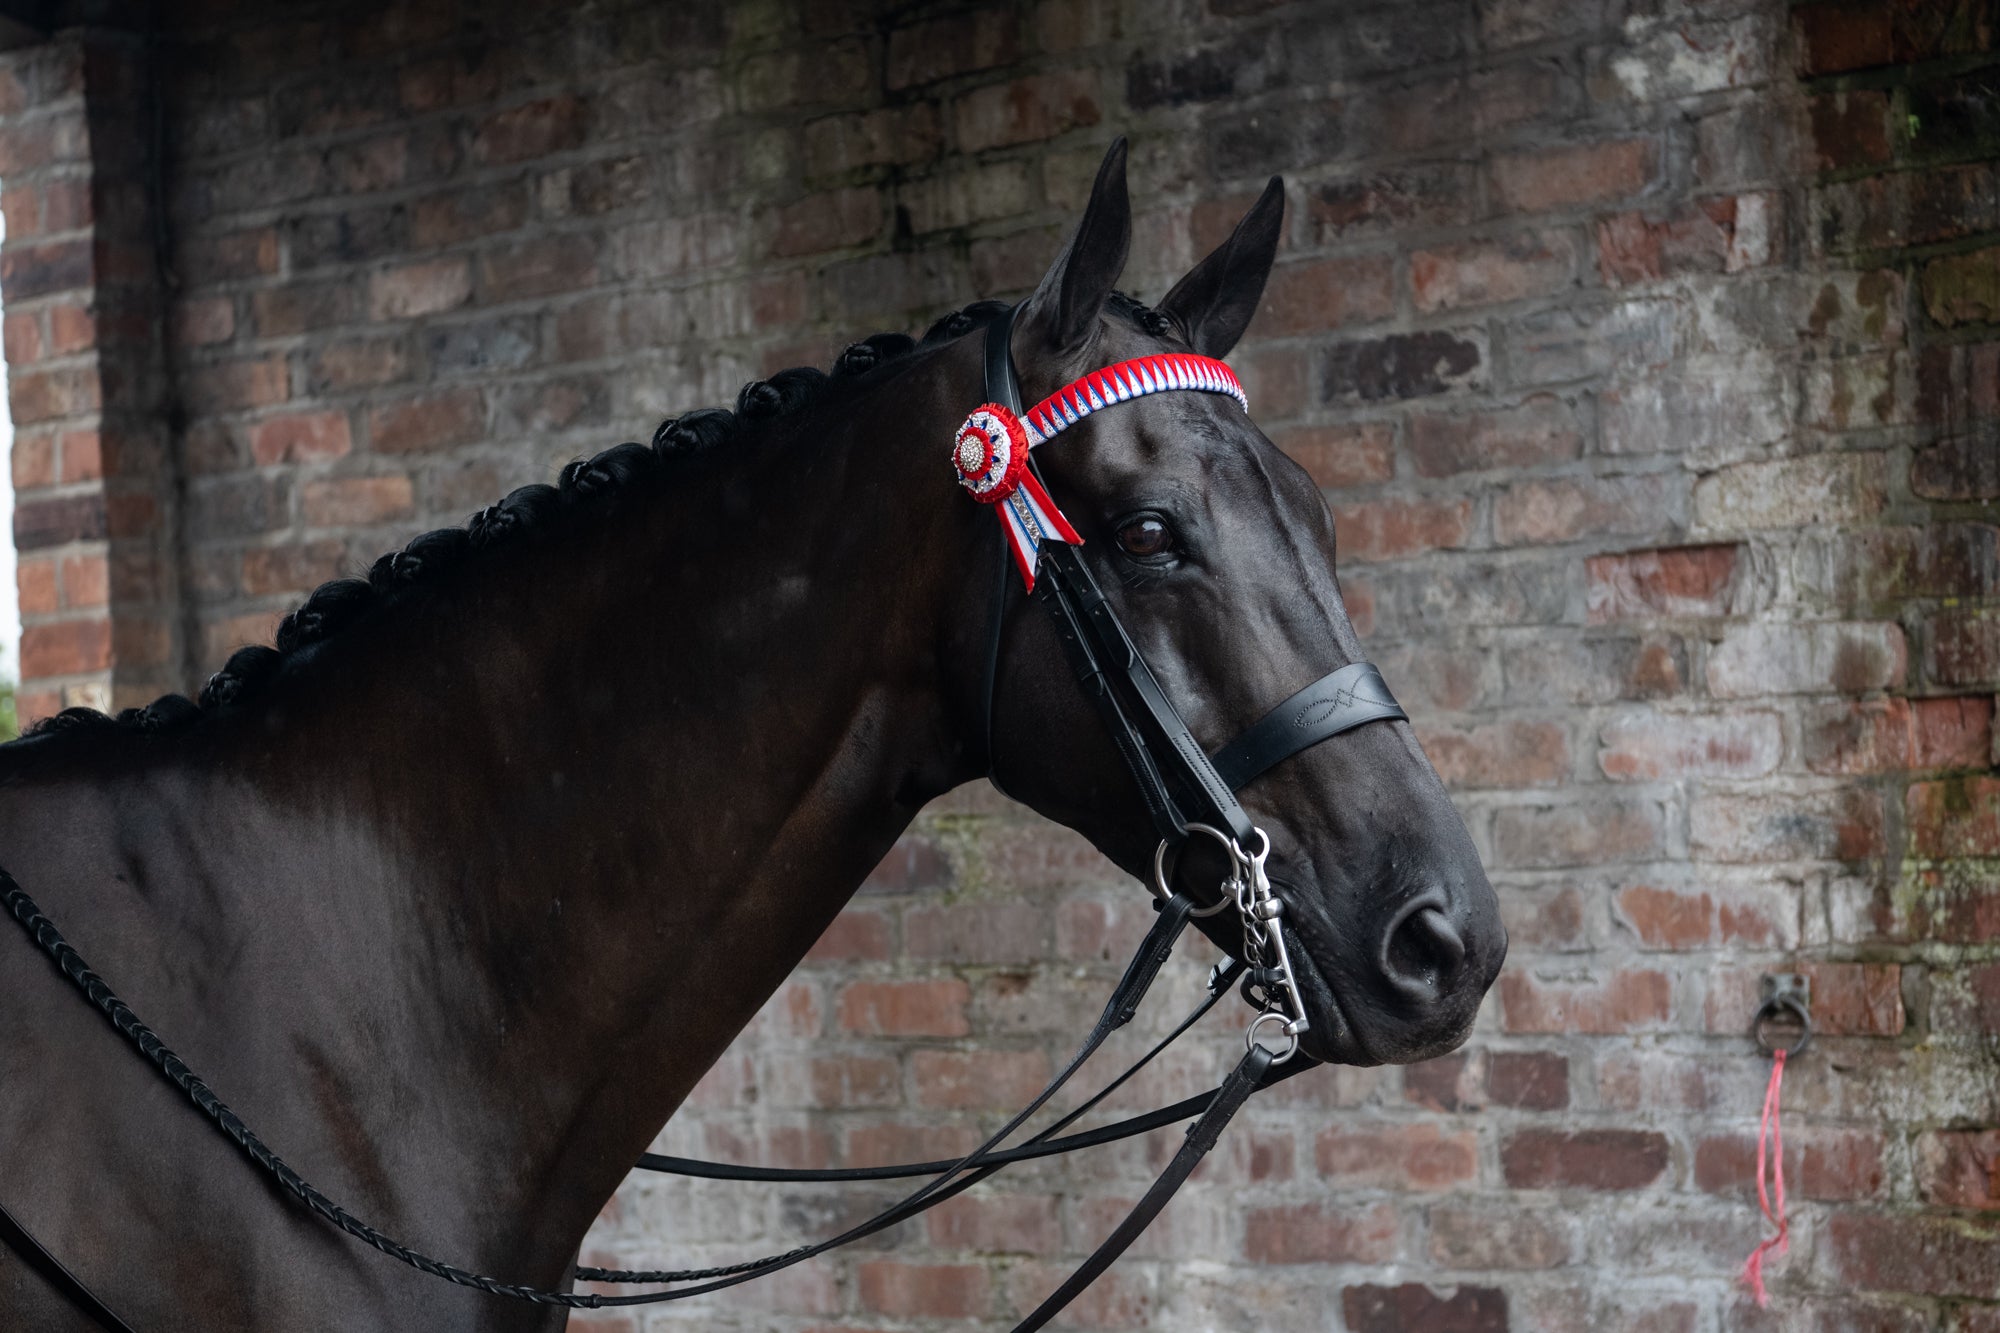
Conventional ‘golf ball’ plaits are achieved by dividing the mane evenly all the way down, plaiting down and rolling up each section and either securing by bands or sewing in with thread. Thicker mane will mean either larger plaits, or putting in more plaits to give smaller plaits. If your horse has a thin mane you will need to use more mane for bigger but less plaits, or less mane for lots of small plaits.
Take a good look at your horse and decide what will suit, and the type of classes or competitions you are entering. In the UK, the show ring “look” will be different to other countries, so research beforehand to ensure you get the right “look” for the event that you are participating in.
For perfect plaits you will need:
Pre-washed mane and tail
Mane comb for dividing up the mane
Perfect Plaits Hold and Shine spray
Choose either bands or thread, and the colour that will blend into the hair that you are going to be plaiting.
Step 1. Divide up the mane using the mane comb. This is done by putting the comb through the mane to make a hair parting. If you have done this correctly you will see a nice straight parting between each bunch. Each bunch should be of even thickness to ensure the plaits are all the same size.
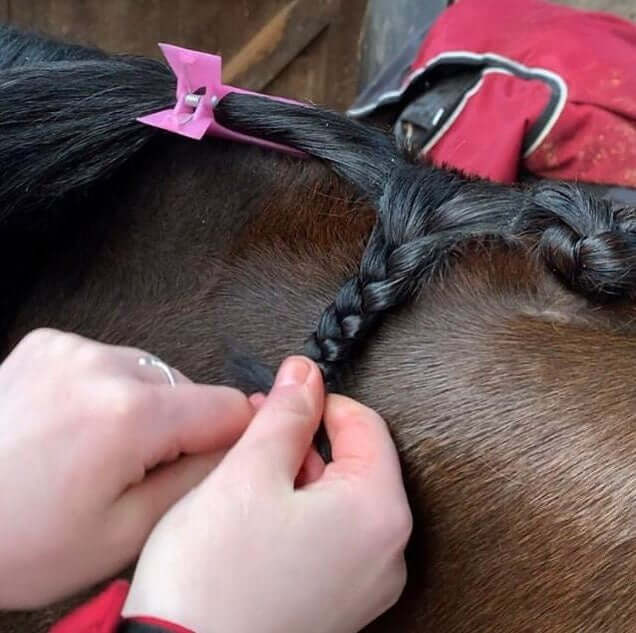
Step 2. Start plaiting the divided bunches at the poll and work down. Use the Plaiting Wax on the top of the mane before plaiting, this will help smooth the hairs down, then squeeze a small amount on Plaiting Gel onto fingers and work into the mane and plait down.
Step 3. (bands). If you are using bands, plait down and secure each plait/braid with a band at the end.
Step 3. (thread) If you are using thread you can also do it this way and then attach the thread to the bottom of the plait or plait one down at a time and secure the end with thread.
Step 4. (bands) Once you are at the bottom of the plait with bands you can roll up and then secure around the top with a second band.
Step 4. (thread) With thread, poke the needle up from the bottom of the plait into the bottom of the mane and pull through the middle of the plait, then carefully sew backwards and forwards with small stitches so that they are not visible. Finish the last stitch so that the thread comes down through the plait and cut the thread close and under the plait so that no loose ends show.
Step 5. Repeat the process until all the mane is finished. Once all the plaits are all rolled up and secure, spray over the entire row of plaits with Perfect Plaits, this will hold and shine, and keep them in place all day.
When you are ready to take out the plaits/braids, do this carefully to avoid cutting any mane. We recommend using the Quick Unpicker, rather than scissors, this has a little blade on the edge and can be accurately used against the thread or bands to cut without touching the mane.
Enjoy the journey, plaiting is a real art, and many styles can be used to enhance the neck and outline of the horse.
Watch our You Tube channel or on our Instagram or Facebook pages for more plaiting tips using our products.



Lascia un commento